Cookie-Cutter in action - For Flask & Django
A curated list with open-source projects generated in Flask and Django using Cookie-Cutter, the popular command-line tool.


Hello! This content presents a few practical use-cases of CookieCutter, a popular command line generator used to build digital projects from templates. All mentioned tools are open-source and the generated code is covered by the MIT license (can be used for commercial projects). During this article, we will generate two dashboards and a beautiful website in Flask similar with these projects:
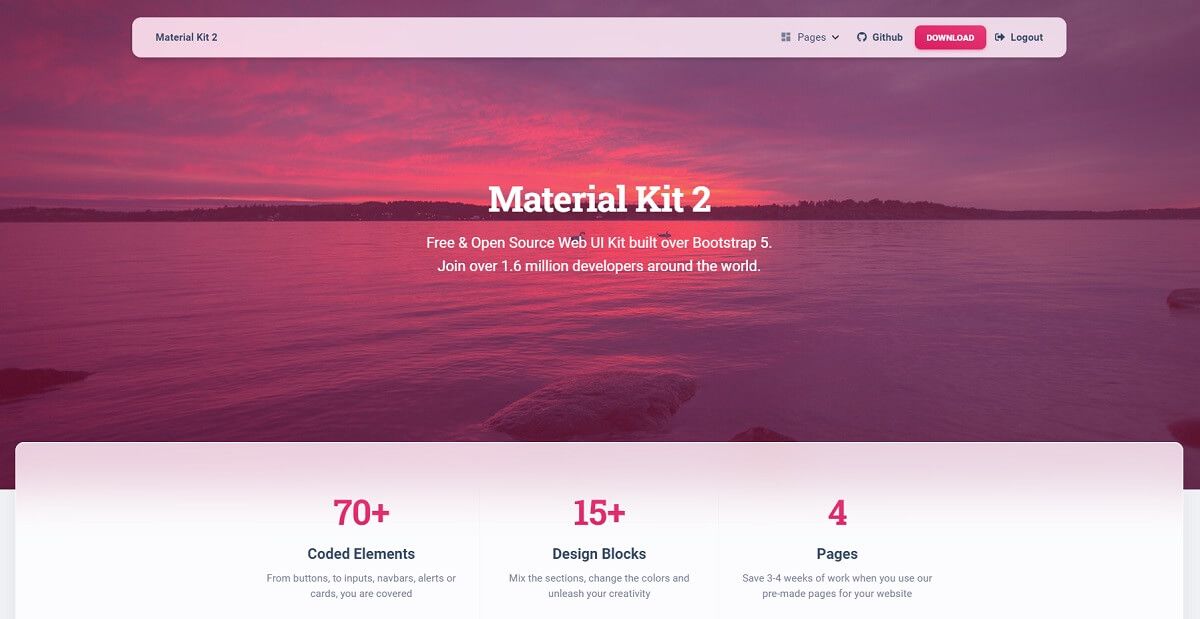
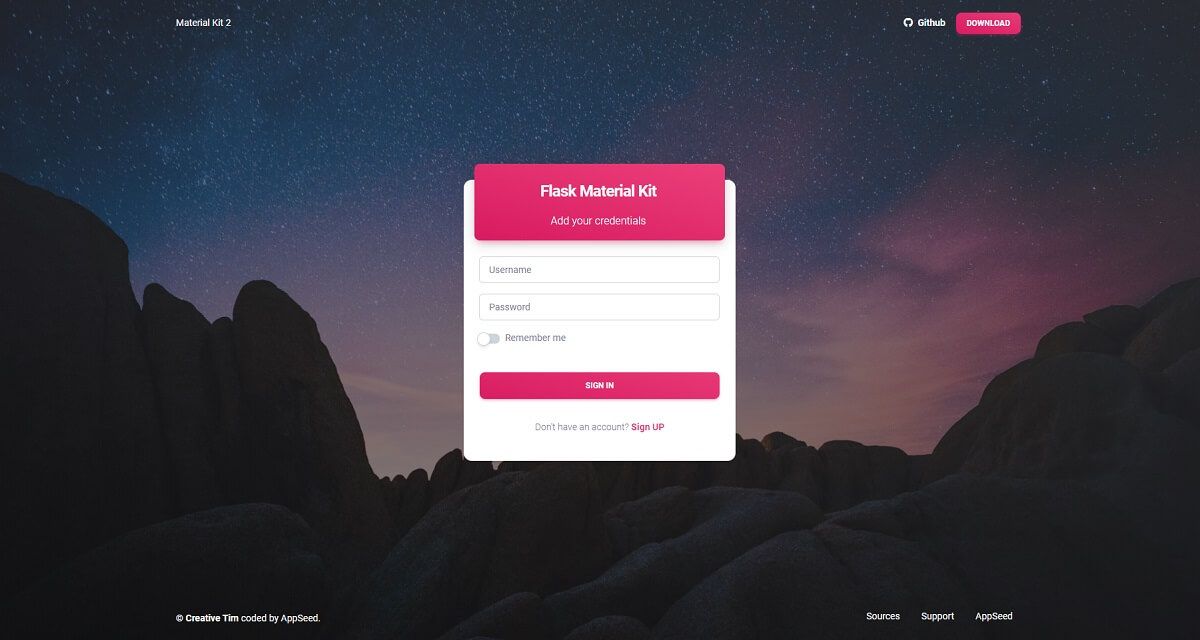
- ✨ Flask Material Kit - LIVE demo
- ✨ Django Volt Dashboard - LIVE Demo
- ✨ Flask Soft UI - LIVE Demo
The generated code comes with a few basic features like authentication, database, deployment scripts via Docker and a modern Bootstrap 5 design.
✨ How it works
The CookieCutter tool knows how to parse an existing codebase and generate a new product using the input provided by the user. For instance, we can choose the database for a project or decide if a specific code or feature is injected or removed from a product. In our use-cases users can choose the design, database type and other things like project name, email and project description.
In order to successfully generate the projects in a local environment, we need a minimal programming kit already installed and accessible in the terminal window:
Python3- the language that powers CookieCutterGIT- the versioning command-line tool- A modern editor live
VsCodeorAtom CookieCuttertool - available via PIP (package manager)Docker- (optional) for an automatized compilation and start
Once we have all the tools up & running, we can move forward and generate our first project: Flask Material Kit.
👉 Step #1 - Install dependencies via PIP
$ pip install cookiecutter
$ pip install GitPython👉 Step #2 - Generate the project via Flask Cookiecutter
$ cookiecutter https://github.com/app-generator/cookiecutter-flask-sites.git// The Output
>>> project_name [Flask Seed project]: Flask Material Kit
>>> project_slug [flask_material_kit]:
>>> description [A simple Flask project]:
>>> author_name [AppSeed]:
>>> domain_name [example.com]:
>>> email [appseed@example.com]:
>>> version [0.0.1]:
>>> Select theme:
1 - material-kit
2 - pixel-lite
Choose from 1, 2 [1]: 1      <--- HERE We select the UI
>>> Select database:
1 - sqlite3
2 - mysql
3 - postgresql
Choose from 1, 2, 3 [1]:
>>> database_name [appseed_flask]:
>>> database_user [appseed_user]:
>>> database_pass [Pass1234]:
PRE Gen hook executed
 Cloning theme: <material-kit>, REPO: https://github.com/app-generator/flask-material-kit.git
 ...done
POST Gen hook executed
 *** Copy assets
 ...done
 *** Copy templates
...doneThe whole process should take less than a minute and the generated code can be found in the flask_material_kit directory. At this point, we can start the project via Docker using a single command.
👉 Step #3 - Start project in Docker
$ cd flask_material_kit
$ docker-compose up --buildBy default the app should be up & running at address http://localhost:85 and display the sign in page.
In a similar way we can generate more complex projects like dashboards or even full-stack apps with React and VueJs as frontend libraries.
✨ Django Cookie-Cutter Volt
In this section we will generate a simple Django Dashboard enhanced with authentication, database and Docker scripts on top of Volt design, a really nice Bootstrap 5 Template.
👉 Step #1 - Generate the project via Django CookieCutter
$ cookiecutter https://github.com/app-generator/cookiecutter-django// The Output
>>> project_name [Django Seed project]: Django Volt Dashboard
>>> project_slug [django_volt_dashboard]:
>>> description [A simple Django project]:
>>> author_name [AppSeed]:
>>> domain_name [example.com]:
>>> email [appseed@example.com]:
version [0.0.1]:
>>> Select theme:
1 - volt                        <--- Volt is the default option
2 - soft-ui
3 - datta-able
4 - material-dashboard
5 - star-admin
Choose from 1, 2, 3, 4, 5 [1]: 1
>>> Select database:
1 - sqlite3
2 - mysql
3 - postgresql
Choose from 1, 2, 3 [1]:
>>> database_name [appseed_django]:
>>> database_user [appseed_user]:
>>> database_pass [Pass1234]:
PRE Gen hook executed
 Cloning theme: <volt>, REPO: https://github.com/app-generator/django-dashboard-volt.git
 ...done
POST Gen hook executed
 *** Copy assets
 ...done
 *** Copy templates
...doneThe next step is to start the generated project via Docker, create, register users and interact with the UI.
👉 Step #2 - Start project in Docker
$ cd flask_material_kit
$ docker-compose up --build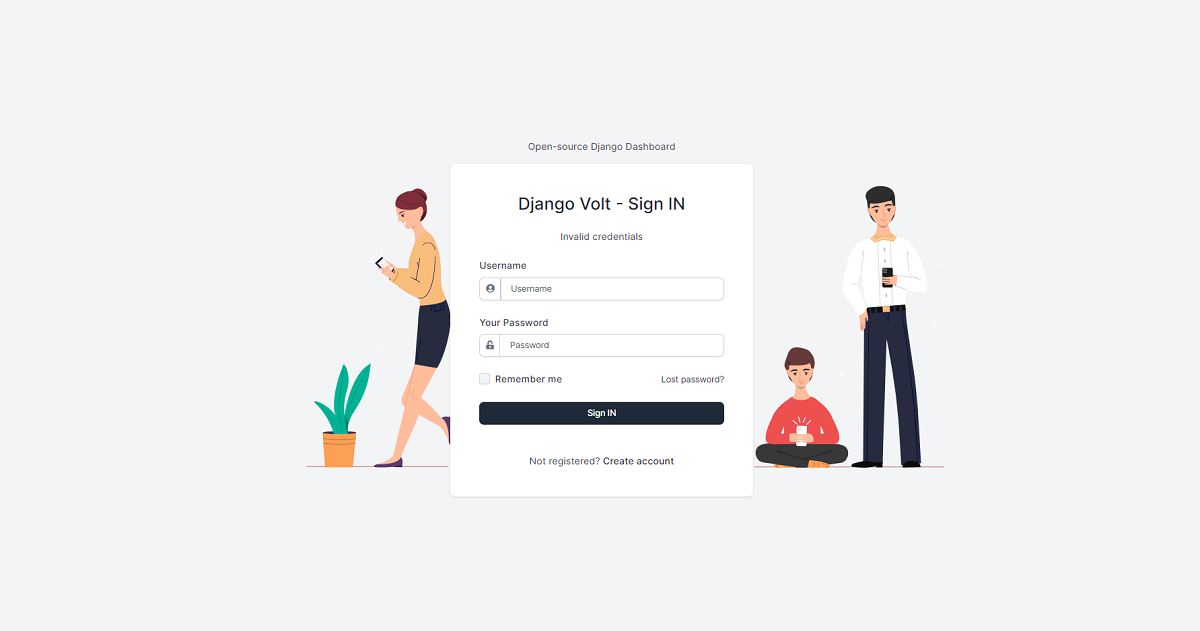
✨ Flask Cookie-Cutter Soft UI
This time, we will generate a futuristic dashboard using Soft UI design from Creative-Tim. The end-product has the same features as the previous starters: authentication, database, a simple clean codebase and Docker scripts. Let's go!
👉 Step #1 - Generate the project via Flask CookieCutter
$ cookiecutter https://github.com/app-generator/cookiecutter-flask// The Output
>>> project_name [Flask Seed project]: Flask Soft UI Dashboard
>>> project_slug [flask_soft_ui_dashboard]:
>>> description [A simple Flask project]:
>>> author_name [AppSeed]:
>>> domain_name [example.com]:
>>> email [appseed@example.com]:
>>> version [0.0.1]:
>>> Select theme:
1 - volt
2 - soft-ui
3 - datta-able
4 - material-dashboard
5 - star-admin
Choose from 1, 2, 3, 4, 5 [1]: 2
>>> Select database:
1 - sqlite3
2 - mysql
3 - postgresql
Choose from 1, 2, 3 [1]:
>>> database_name [appseed_flask]:
>>> database_user [appseed_user]:
>>> database_pass [Pass1234]:
PRE Gen hook executed
 Cloning theme: <soft-ui>, REPO: https://github.com/app-generator/flask-soft-ui-dashboard.git
 ...done
POST Gen hook executed
 *** Copy assets
 ...done
 *** Copy templates
...done👉 Step #2 - Start project in Docker
$ cd flask_soft_ui_kit
$ docker-compose up --build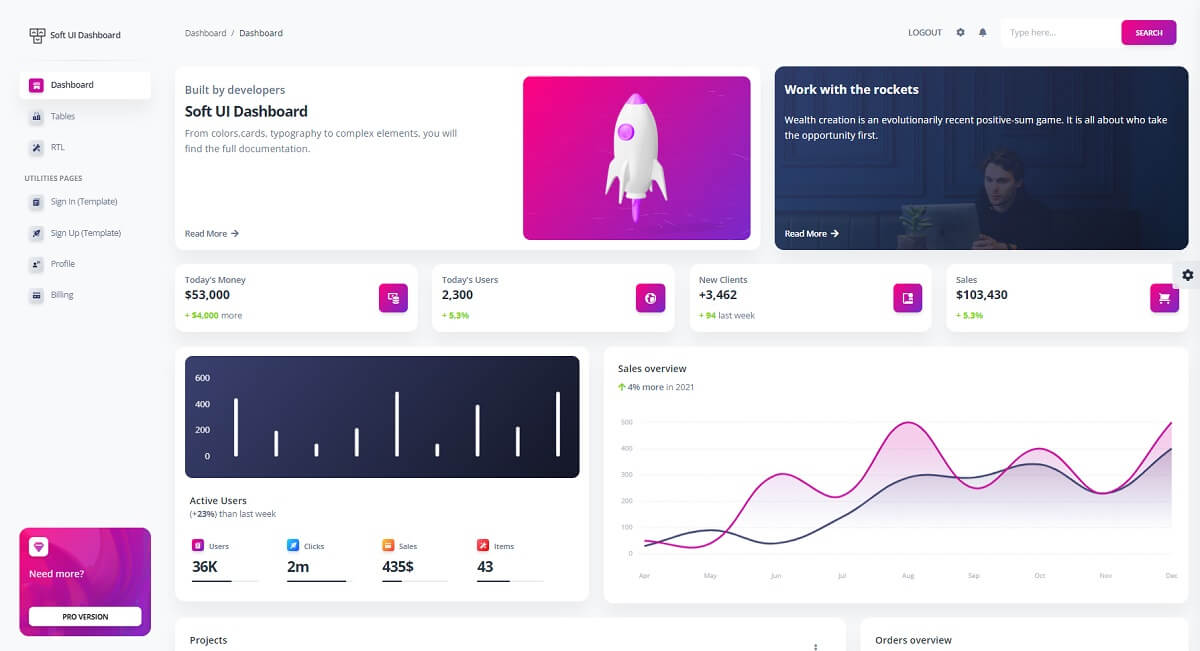
Thanks for reading! The source code for all project can be found below:
- ✨ Flask Material Kit - source code
- ✨ Django Volt Dashboard - LIVE Demo
- ✨ Flask Soft UI - LIVE Demo