Django - Guide for Beginners (With Samples)
A comprehensive introduction to Django for beginners - With Code Samples.

Hello! This article aims to help beginners start fast with Django, a leading framework built on top of Python. The content starts with a short Django history, continues with a few important Django concepts and commands, and presents a working sample at the end. For newcomers, Django is a mature project started in 2003, actively supported and versioned by programming experts and open-source enthusiasts.
Thanks for reading! Topics covered: - 👉 Django -
short history - 👉
Tools and Editorsto start with Django - 👉
Virtual Environments - 👉
Codeyour first project inDjango - 👉
Set up the database - 👉
Migrations- when to use it - 👉 Switch from
SQLitetoMySqlin Django - 👉 Free
Django Startersto play and learn
✨ Django Short History
Django began as an internal project at the Lawrence Journal-World paper in 2003. Frequently, the web developer group there needed to carry out new features or even whole applications in practically no time. In this manner, Django was made to fulfill the quick time constraints of news-casting sites, while simultaneously keeping the advancement cycle clean and maintainable. By 2005, Django became well developed, and the developers chose to deliver it to general society as an open-source project.
By default, Django follows an MVT (model-view-template) pattern. Django project comprises of a simple project which is divided into multiple apps in this way functionality is divided.
- Model characterizes the data structure. This basically represents a database structure and acts as the base layer.
- View shows some or each of the information to the client with HTML and CSS.
- Template It is basically the front-end layer.
Currently, two different flavors are there for Django:
Django
The Traditional version of Django uses HTML, and CSS templates inside the same project, so the frontend is not external which makes it much faster and more efficient and connects to the templates using forms and HTTP requests and redirects to render to the template.
Django Rest Framework (DRF)
Serves as a Restful API. In Django rest framework users access data using the endpoints URLs) provided using HTTPS methods which are namely GET, POST, PUT and DELETE. We can add one more element as PATCH which serves as a partial PUT request.
Django Rest Framework can be used with any front-end framework or library like React which makes it much more customizable and saleable.
✨ Tools to get started
To get started we need to use a Text Editor or an IDE (integrated development environment). You can use PyCharm which is a popular IDE for python scripting. In this tutorial, we are going to use VSCode which is an open-source editor created by Microsoft.
The first step is to download the installer from the official download page. After downloading the editor, we need to install the Python extension for VS Code from the Visual Studio Marketplace. The Python extension is named Python and it's distributed by Microsoft. if you have trouble installing you can follow the official link.

✨ Virtual Environments
In a single sentence, Virtual Environments are just python executables that are created and point to certain python packages installed.
The reason to use virtual environments rather than the base python environment is to make the project saleable, track its requirements, and also to avoid cross-global installations.
For example: if we are working on a simple web blog project there is no need for us to install Machine learning libraries similarly if we are working on a machine learning project there is no need to install web development libraries.
Also, if we are working on a project which requires a certain version of a package let’s say bootstrap==1.12.0 and another package is installed let’s say bootstrap==14 we cannot install multiple conflicting packages of the same library.
In this case, using Virtual Environments is strongly recommended because the conflicts that might occur from projects dependencies are completely avoided.
How to install and use a Virtual Environment on Windows$ virtualenv env # create the environment
$ .\env\Scripts\activate # activate the environment
$ pip install Django # install Django Use Virtual environments on Linux-based systems$ virtualenv env # create the environment
$ source env/bin/activate # activate the environment
$ pip install Django # install Django ✨ Create a simple Django Project
Here we are creating our first Hello-World application using Django. Getting started we need to first install Django in our virtual environment which is activated in the step before.
$ pip install Django==4.0.0Once the installation is complete, we can invoke Django-related tools in the terminal and create our simple project:
$ django-admin startproject django_project By default, Django follows the following directory structure:
< ROOT_DIR >
   |
   |-- django_project/
   |    |-- __init__.py
   |    |-- settings.py
   |    |-- wsgi.py
   |    |-- urls.py
   |
|-- manage.py Here are the files created by Django :
- __Init__.py - This file indicates that all the files present here are part of the Django python package. Without this, the file we cannot import files from other directories.
- settings.py - Controls the project settings. Ports, apps added, configuration
- urls.py - Controls the project’s URL patterns
- wsgi.py - It’s the Web Server Gateway Interface.
- manage.py - This is the most important file and helps in running Django commands
Once the core project is created, we can move forward and create a simple app that will render a classic "Hello World" in the browser.
$ python manage.py startapp pagesBy default, Django follows the following app structure:
< ROOT_DIR >
   |
   |-- django_project/
   |
   |-- pages/
   |    |-- __init__.py
   |    |-- admin.py
   |    |-- apps.py
   |    |-- models.py
   |    |-- tests.py
   |    |-- views.py
   |    |-- migrations
   |         |-- __init__.py
   |
|-- manage.py - admin.py - It is the file where we configure what to show in our admin panel
- apps.py - config file for apps
- models.py - defines the tables used by the current app
- views.py - the file that handles the routing
Even though we have created a new app Django still does not know whether any new app exists. For this, we need to add the app name in the settings.py file
# django_project/settings.py

INSTALLED_APPS = [
   "django.contrib.admin",
   "django.contrib.auth",
   "django.contrib.contenttypes",
   "django.contrib.sessions",
   "django.contrib.messages",
   "django.contrib.staticfiles",
   "pages",                        # <-- our new APP
] A mandatory step after we add a new app is to run a migration which means updating the database to include the latest tables.
This topic is explained in deep later. For now, we are good just to mention the concept.
$ python manage.py makemigration # generate the SQL
$ python manage.py migrate       # apply changes on database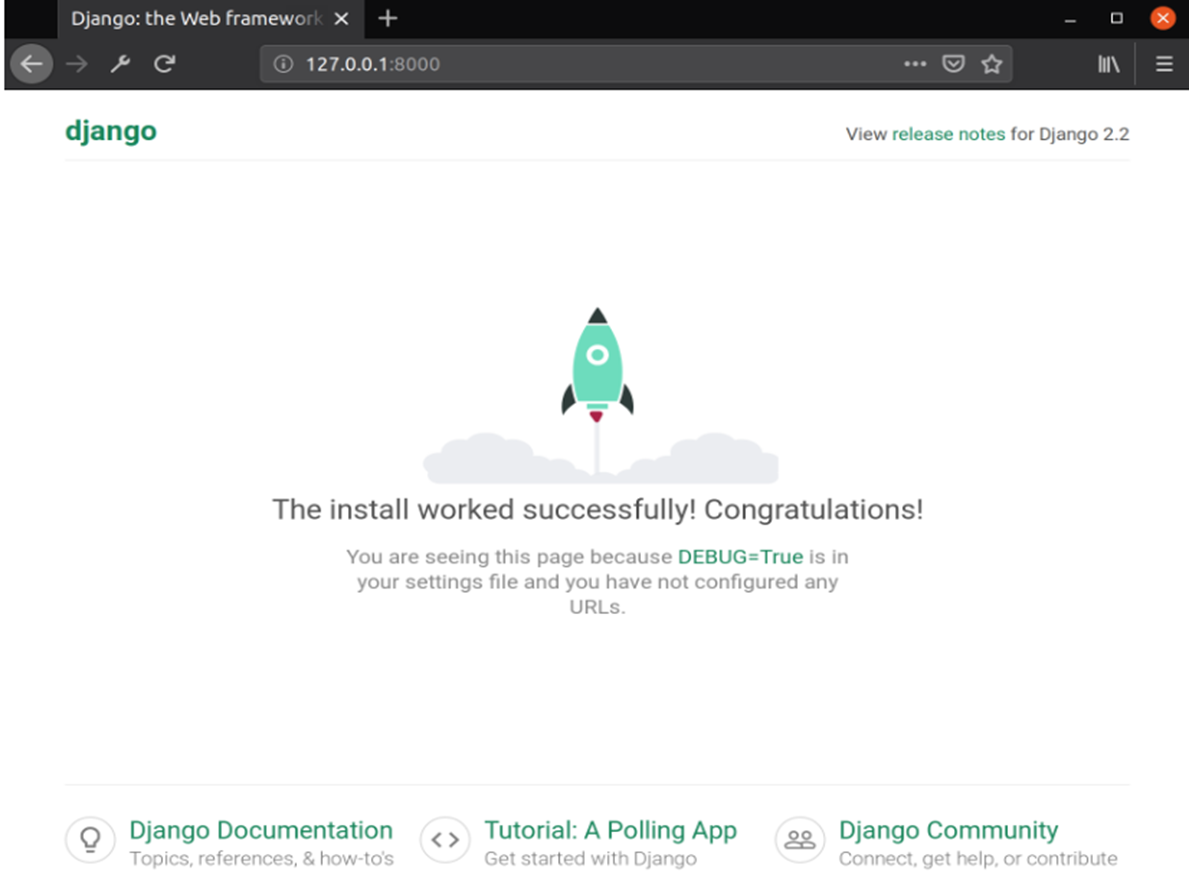
$ python manage.py runserver # start the serverThese commands run the server by default the server runs on the following port and IP address 127.0.0.1:8000.
Now we can start working on our hello World configuration. As this is a simple operation it does not require a model file as well as a template file since it’s a basic app. Let's move forward and update the project to show a simple Hello World in the browser.
Edit pages/views.py from django.http import HttpResponse
def HelloWorldView(request):
return HttpResponse("Hello, World!") Update app routingfrom django.urls import path
from .views import homePageView
urlpatterns = [
path("", HelloWorldView, name="home"),
]Update Project Routingfrom django.contrib import admin
from django.urls import path, include # <-- NEW
urlpatterns = [
path("admin/", admin.site.urls),
path("", include("pages.urls")), # <-- NEW
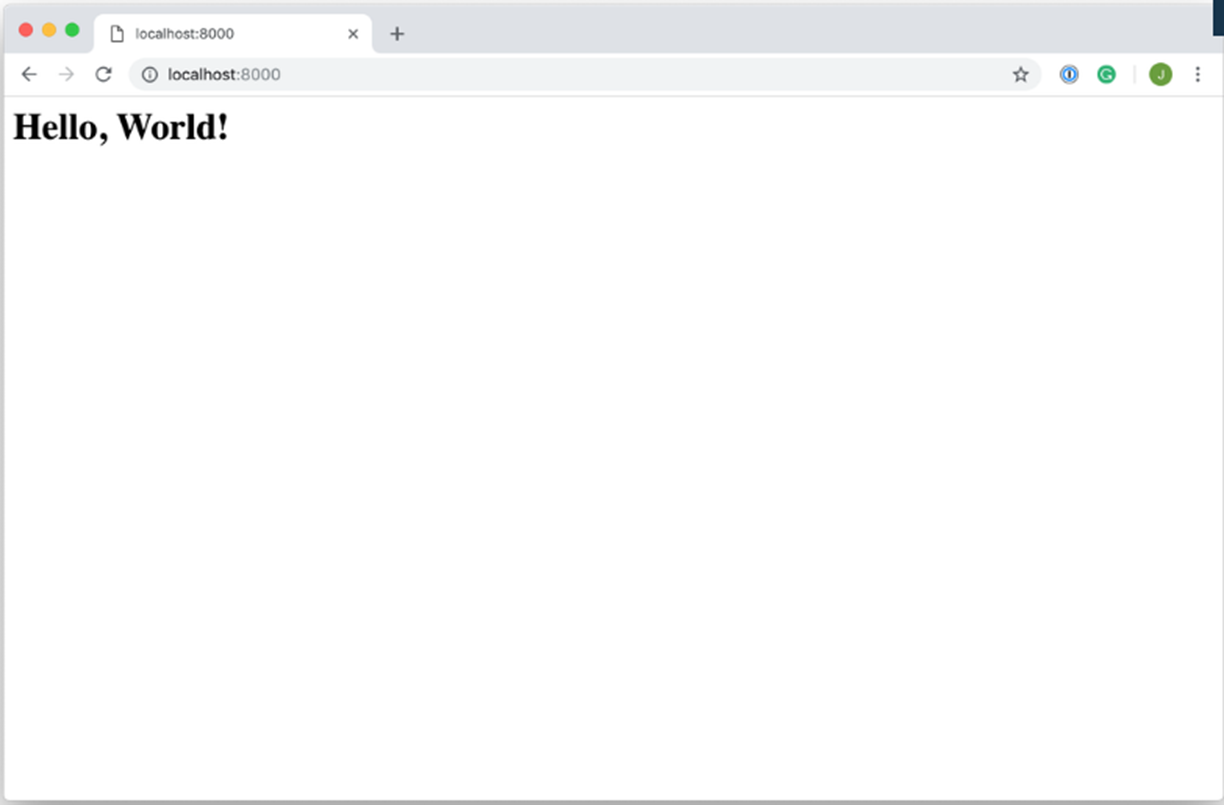
] With all files saved, we should see in the browser our amazing Hello World message.
✨ Django Database Settings
By default, Django uses the default SQLite database. The configurations can be added in the django_project/settings.py file as shown below:
DATABASES = {
    'default': {
        'ENGINE': 'django.db.backends.sqlite3',
        'NAME': 'mydatabase', # The name of the db file.
	}
}
Later, when the project will be updated to use a more powerful database like MySql, we will get back on these settings with more information.
✨ Django Migrations
Migrations are the Django ways of moving changes to the database, that we commit to our models. This involves all database changes that we want.
Actions that require a migration for our project:
- add or remove a table
- add or remove fields from an existing table (model)
- creating relationships between tables
- update the definition of an existing table field
Whenever we have done any new changes to our models relating to any app in the project, we need to migrate changes to the database in order for them to be reflected there. Django comes with powerful migration assistance via the following commands:
👉 Migrate: Apply changes to the database
👉 Makemigration: major role is to create migrations that we based on the changes done in models.py.
👉 Sqlmigrate: Shows SQL statement for migrations
👉 Showmigrations: Displays the migrations.
Here is the usual flow when our Django project requires an update or evolution on the database layer:
- Update the
models.pyfile (one or more files are supported) - Generate the SQL using the command
makemigrations
$ python manage.py makemigrations
Migrations for 'books':
  books/migrations/0003_auto.py:
- Alter field author on book- Apply the changes via
migratecommand
$ python manage.py migrate
Operations to perform:
  Apply all migrations: books
Running migrations:
  Rendering model states... DONE
Applying books.0003_auto... OKPlease note that makemigration is not altering the database, being responsible to generate the SQL statements used later by migrate command. The actual update happens during the migrate command.
✨ Django - Switch to MySql
By default, Django works with SQLite database which is a standard database. To change the database we will first need to install MySQL workbench and create a database with associated credentials (user/password).
In case MySql is not installed on your workstation, please access the official download page, install the server and get back to this point to follow the complete setup.
Create the MySql database

After creating the schema, we need to create a user and give it all the privileges using the MySql command-line interface.
$ mysql
>>> create user dbadmin identified by ‘12345’;
>>> grant all on djangodatabase.* to ‘dbadmin’@’%’;
>>> flush privileges;
The next step is to install the MySql client for Python, the library that connects our SQL interface layer to the MySql Server.
$ pip install mysqlclientOnce the library has been installed successfully, we need to update the SQL settings of our project to use MySql instead of the default SQLite storage.
DATABASES = {
    'default': {
        'ENGINE': 'django.db.backends.mysql',
        'NAME': 'djangodatabase',
        'USER': 'dbadmin',
        'PASSWORD': '12345',
        'HOST': 'localhost',
        'PORT': 8000,
	}
} After project migration we can start the project that now uses MySql:
$ python manage.py migrate
$ python manage.py runserverAll the tables that were previously created on the SQLite database should now are mirrored in the MySql database thanks to Django.
✨ Free Django Starters
Curious minds can move forward and play around with a few open-source Django Starters built on top of modern UI Kits. All projects can be downloaded from Github (MIT License) and used in commercial projects.
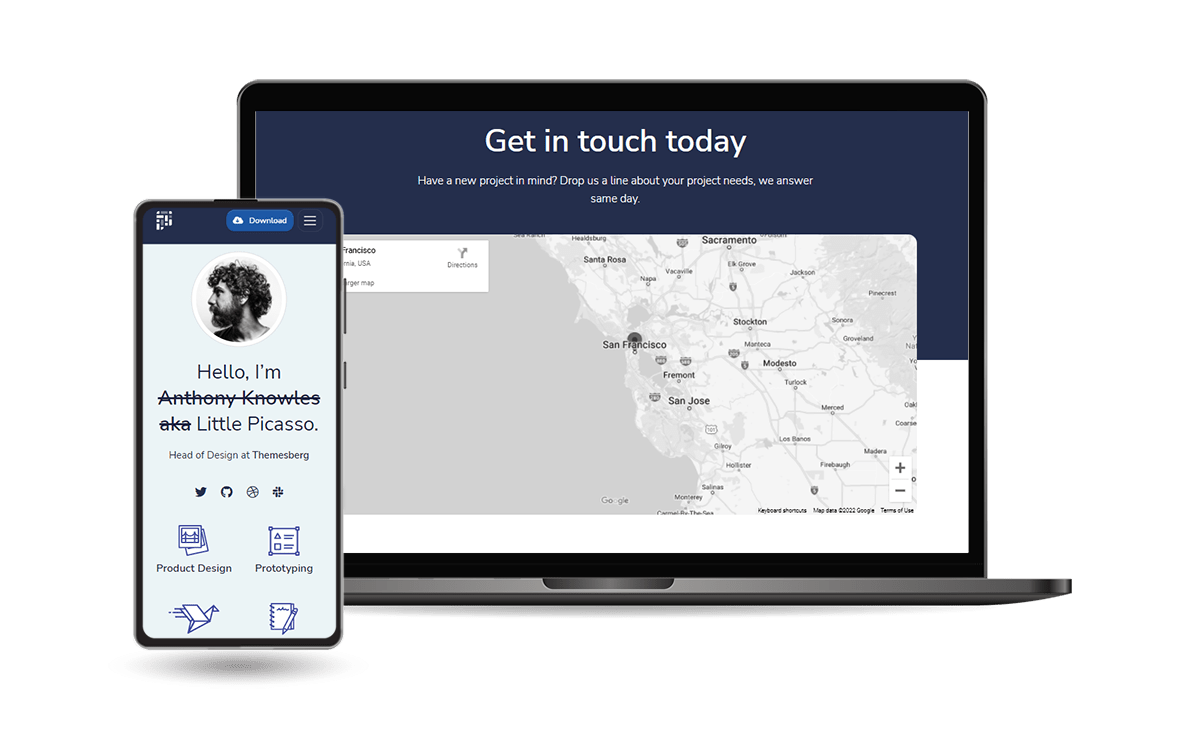
👉 Django Pixel Lite
Pixel is a free, fully responsive, and modern Bootstrap 5 UI Kit that will help you build creative and professional websites. Use our components and sections, switch some Sass variables to build and arrange pages to best suit your needs.
- Django Pixel Lite - product page
- Django Pixel Lite - LIVE Deployment
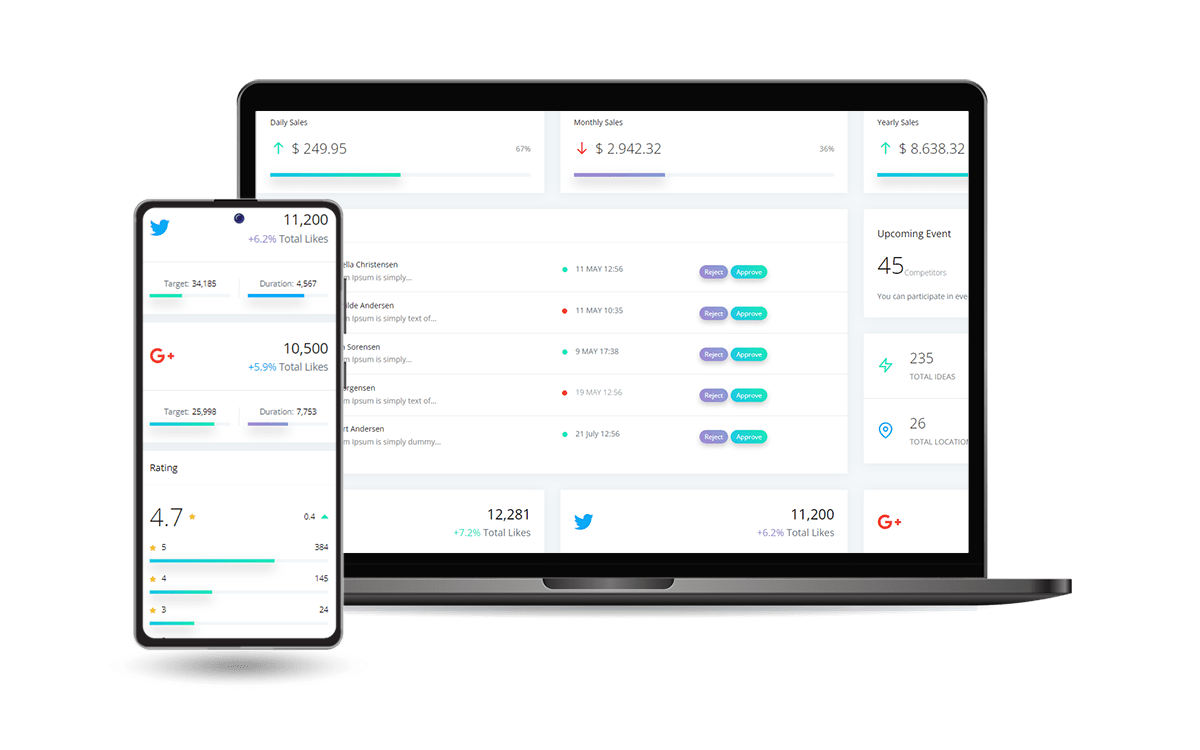
👉 Django Datta Able
Open-source Django Dashboard generated by AppSeed on top of a modern design. For newcomers, Datta Able Bootstrap Lite is the most stylized Bootstrap 4 Lite Admin Template, around all other Lite/Free admin templates in the market.
- Datta Able Django - Product page
- Datta Able Django - LIVE deployment
It comes with high feature-rich pages and components with fully developer-centric code. Before developing Datta Able our key points were performance and design.
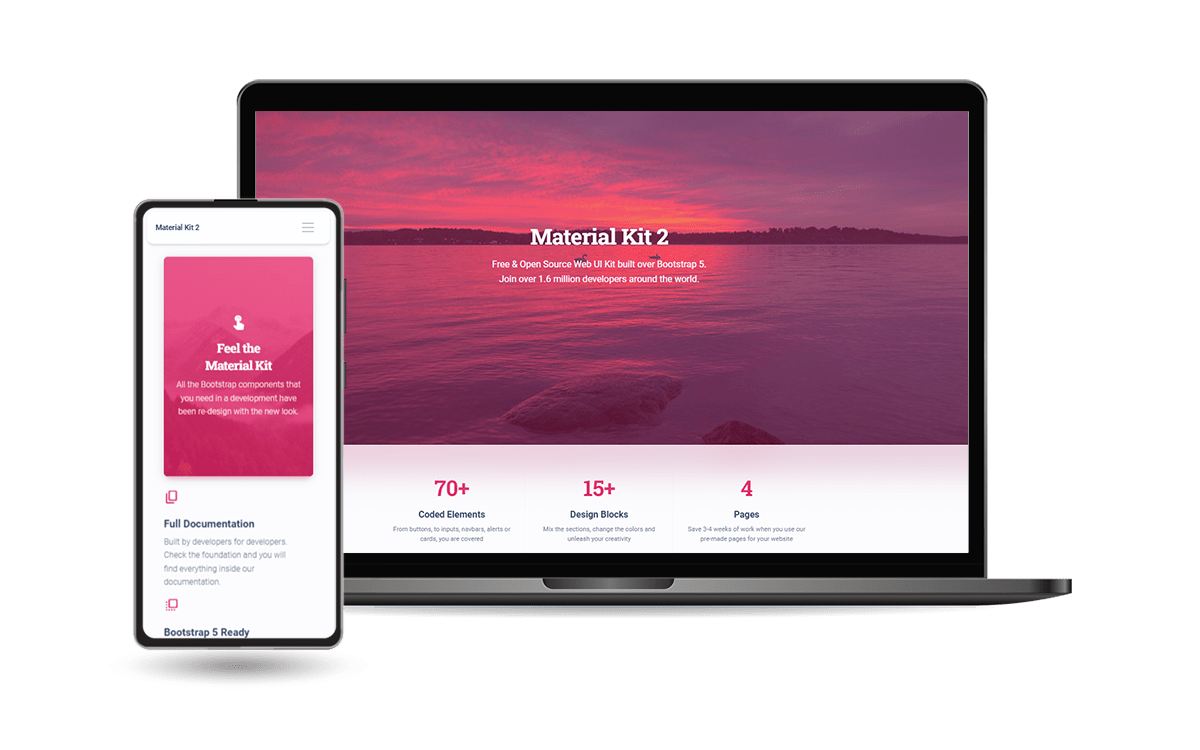
👉 Django Material Kit
Designed for those who like bold elements and beautiful websites, Material Kit 2 is ready to help you create stunning websites and web apps. Material Kit 2 is built with over 60 frontend individual elements, like buttons, inputs, navbars, nav tabs, cards, or alerts, giving you the freedom of choosing and combining.
- Django Material Kit - Product page
- Django Material Kit - LIVE Demo
Thanks for reading! For more resources, feel free to access:
- ✨
AppSeedfor support and more Django Starters - ✨ More Admin Dashboards - a huge index with products