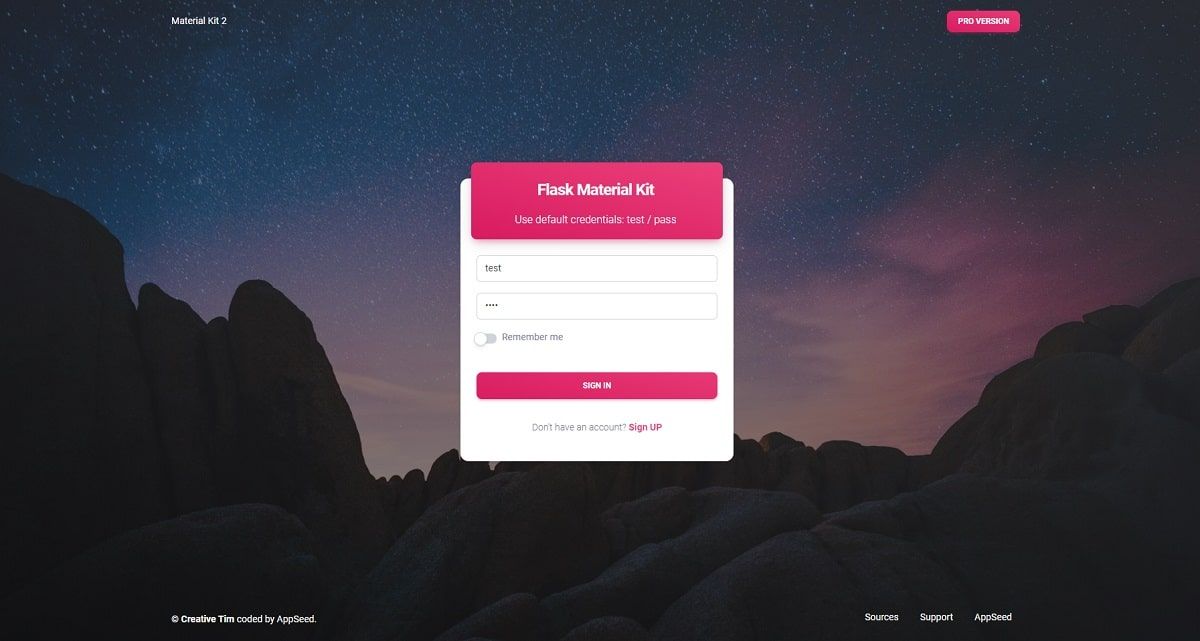
Flask Material Kit - Open-source Template
Open-Source seed project generated by AppSeed in Flask Framework on top of Material Kit design. Sources available on Github under the MIT License.

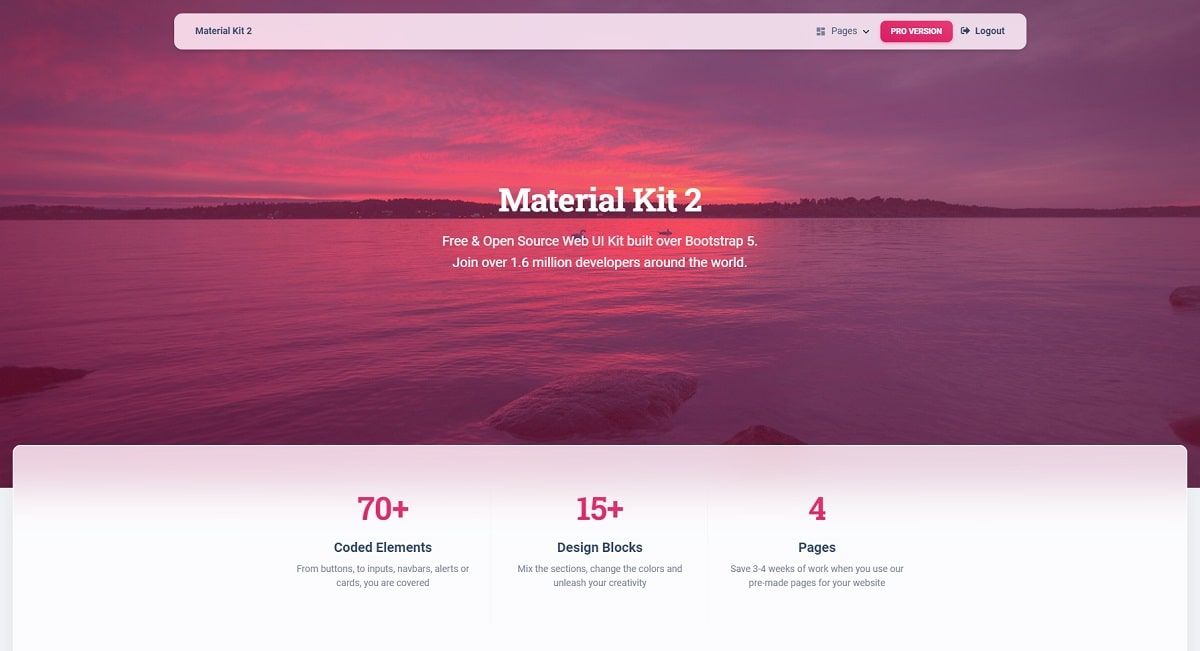
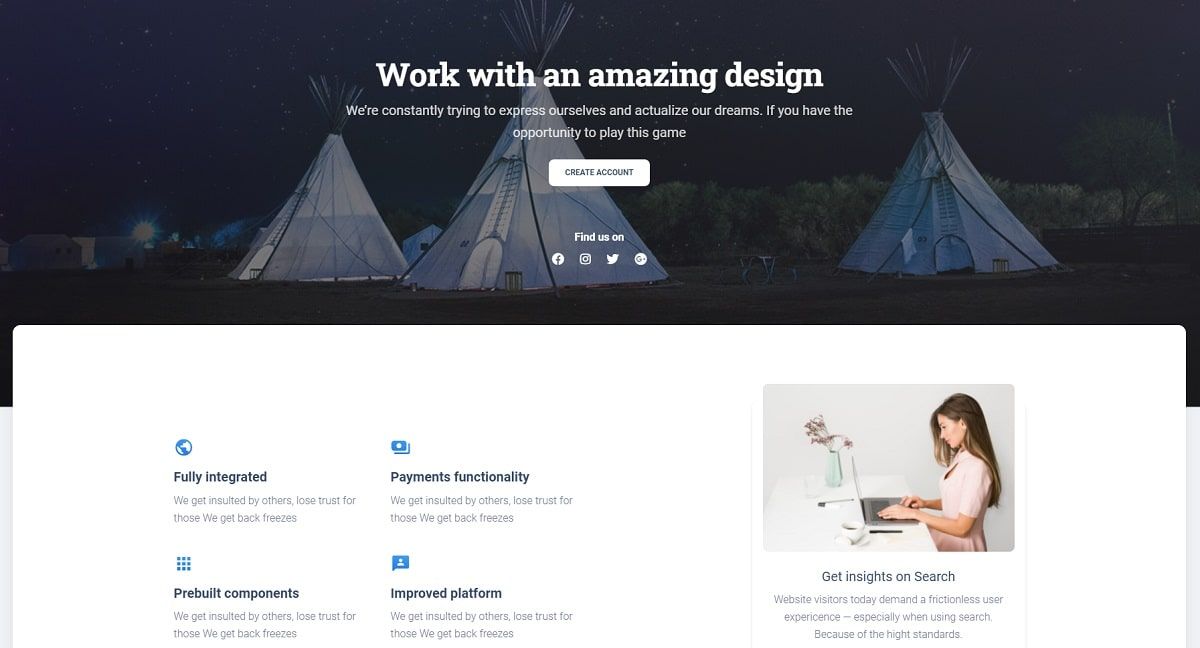
Hello! This article presents an open-source Flask Template crafted with authentication, database, and Docker support on top of Material Kit Design, a modern and colorful Bootstrap 5 design. The product can be used to code faster a presentation website without much effort or simply for eLearning activities. For newcomers, Flask is a leading framework written in Python used to code simple websites, APIs, or complex eCommerce solutions. Thanks for reading!
- 👉 Flask Material Kit - product page
- 👉 Flask Material Kit - LIVE Demo
The product can be compiled and started in a local environment using two techniques: Docker setup (faster & easier) or a classic manual build in case Docker is not an option.
Step #1 - Clone/download the sources from Github
$ git clone https://github.com/app-generator/flask-material-kit.git
$ cd flask-material-kitStep #2 - Start in Docker
$ docker-compose up --build Once all the above commands are executed, we should be able to access the app in the browser, register new users, and authenticate.
Material Kit 2 is built with over 60 frontend individual elements, like buttons, inputs, navbars, nav tabs, cards, or alerts, giving you the freedom of choosing and combining. All components can take variations in color, which you can easily modify using SASS files and classes.
If you want to get inspiration or just show something directly to your clients, you can jump-start your development with our pre-built example pages. You will be able to quickly set up the basic structure for your web project.
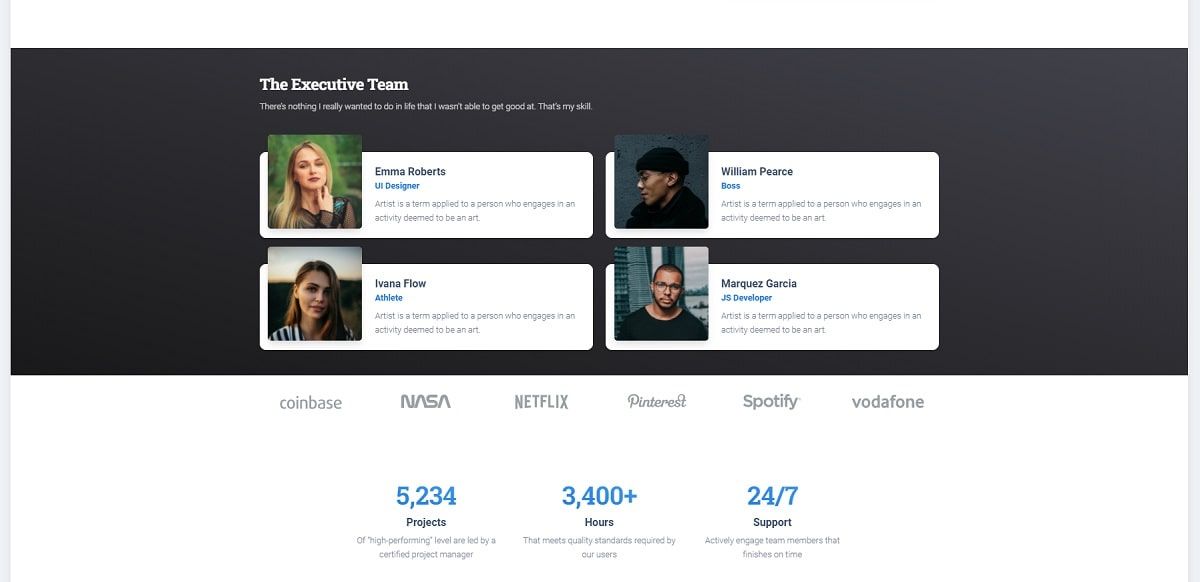
Flask Material Kit - Team Section
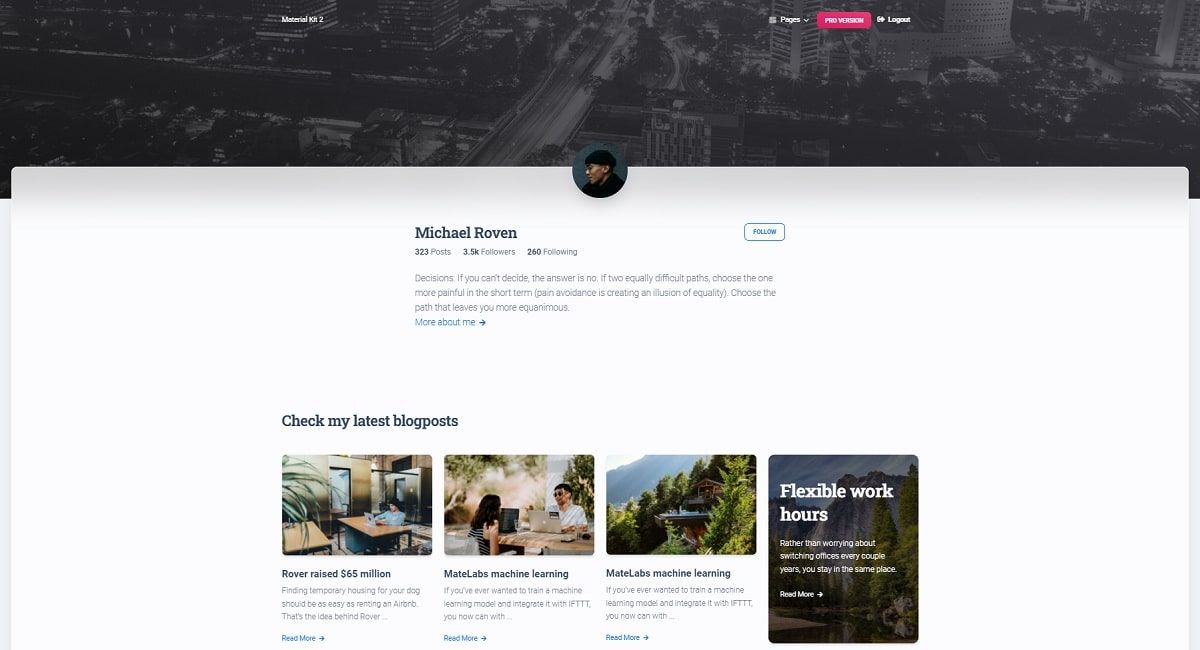
Flask Material Kit - About US Page
✨ Deploy in production
Once the local development is done, we can push the project into the wild and share our work using a public deployment.
Might be a good idea, before going LIVE to enable compression for pages and projects assets (JS, CSS files). This goal can be easily achieved via an open-source Flask module: Flask-Minify.
👉 Step #1 - Add Flask-Minify to the product requirements
Flask-Minify==0.35👉 Step #2 - Update codebase to enable compression
# Contents of apps/__init__.py
...
# Import the module
from flask_minify import Minify                     # <-- NEW Line
...

app = Flask(__name__)

# Inject the module into the Flask APP object
Minify(app=app, html=True, js=True, cssless=True) # <-- NEW Line At this point, the app should serve compressed pages and assets (JSS, CSS).
👉 Step #3 - Execute the Docker set up on the production host
$ docker-compose up --build
// App runs on port -> http://localhost:85👉 Step #4 - Configure webserver to forward requests
Apache and Nginx are super popular webservers we can configure to route the external received from our users to the local port 85 server via Docker.
✨ Apache - Reverse PROXY configuration
<VirtualHost *:*>
    ProxyPreserveHost On

    # Servers to proxy the connection, or;
    # List of application servers:
    # Usage:
    # ProxyPass / http://[IP Addr.]:[port]/
    # ProxyPassReverse / http://[IP Addr.]:[port]/
    # Example:
    ProxyPass / http://0.0.0.0:85/
    ProxyPassReverse / http://0.0.0.0:85/

    ServerName localhost
</VirtualHost>✨ Nginx - reverse PROXY configuration
server {
        listen 80;
        server_name my-site.com;

        location / {
                proxy_pass http://127.0.0.1:85;
        }
}Thanks for reading! For more resources, feel free to access:
- AppSeed for support via eMail and Discord
- Django Material Kit - open-source version for Django