Flask & React - From Zero to Full-Stack (with Samples)
Learn how to use Flask and React to code full-stack products that scale with ease. Open-source samples included.


This article explains how to use Flask and React to code scalable, production-ready projects. For newcomers, Flask is a popular Python Framework used to provide all backend features like authentication, database interface, and user management. In this architecture, React handles the UI and communicates with Flask decoupled from the backend using secure requests.
Here are the topics covered in this material:
- ✅ Section #1 - The general view of the project
- ✅ Section #2 - Requirements: environment, libraries, and tools
- ✅ Section #3 - What is Flask
- ✅ Section #4 - What is React
- ✅ Section #5- Set up Flask Backend
- ✅ Section #6 - Test the Flask API using POSTMAN
- ✅ Section #7 - Code React UI to communicate with Flask
- ✅ Section #8 - Compile the samples (backend and frontend)
The product built during this tutorial can be downloaded from AppSeed:
👉 Flask & React Datta Able - open-source starter
1# - Project Overview
Full-stack projects can be structured in many ways and patterns. I will mention only two (popular) patterns below:
Backend + SPA (single page application) - in this configuration Flask backend is built using the old-school MVC pattern where the files are served from the backend and the React app will provide the interaction with the users. This model, once very popular, was somehow abandoned because the technologies were mixed and sometimes hard to extend.
Two-Tier Architecture - this pattern separates the React UI from the Flask backend functionally and physically and builds a communication bridge via an API exposed by the server. This design has a few advantages over the previous solution:
- UI and the Backend can be developed and tested as separate entities
- Easier deployment.
- If required, the UI can use a simulated API backend.
This article will focus on the 2nd pattern, the "two-tier" architecture where the Flask API is decoupled from the React UI. Here is the flow in a few sentences:
- Flask server starts and API is exposed
- React UI is loaded by the user's browser
- React initiate the login, get the credentials provided by the user
- React send user credentials to the API server
- Flask API checks the credentials and generates a JWT Token
- React UI saves the user information and JWT Token
- Access to the private zone is granted until the user triggers a logout.
2# - Project Requirements
To have a successful build of our full-stack project a few tools, and libraries should be already installed and accessible in the terminal.
- GIT - command-line versioning tool
- Python3 - the language that powers Flask
- Node JS - used to pull into our world the React magic
- Yarn - used to install Node JS packages
- A modern code editor like VsCode or Atom
- Ability to work in the terminal and write system commands
- PIP (shipped by Python3) - used to install Python packages
3# - What is Flask
Flask is a popular Python Framework designed to a project quick and easy, with the ability to scale up to complex applications. Flask can be used to code from simple one-page sites to APIs and complex eCommerce solutions.
Using Flask, the developer has the freedom to structure the codebase without constraints and also install only the libraries he really uses. The easiest way to install Flask is to use PIP, the official package manager shipped with Python.
$ pip install FlaskDuring the setup, a basic set of core dependencies are also installed:
- Werkzeug implements WSGI, the standard Python interface between applications and servers.
- Jinja is a template language that renders the pages your application serves.
- MarkupSafe comes with Jinja. It escapes untrusted input when rendering templates to avoid injection attacks.
- ItsDangerous securely signs data to ensure its integrity. This is used to protect Flask’s session cookie.
- Click is a framework for writing command-line applications. It provides the flask command and allows adding custom management commands.
Once the installation is finished we can open an editor and code our first Flask app with a few lines of code:
from flask import Flask
app = Flask(__name__)

@app.route('/')
def hello_world():
return 'Hello, from Flask!'4# - What is React
In 2021 the stats shows that React is used as the primary technology in frontend development superseding other frameworks like Vue, Angular or Svelte. React is actively supported and versioned by Facebook and is widely adopted by big companies and many developers and open-source enthusiasts.
React can be used in legacy projects via CDN imports or start a new project using CRA (create-react-app) command-line tool. In our sample, we will use an open-source template where the authentication code is added on top of an existing project initially created using the CRA tool. For more basic resources about React, please access:
- Official docs - integrate React into a legacy project
- Create a new React app - a really nice tutorial
5# - Code the Flask API backend
Flask is great when we need to start fast and code something functional in less time. Our backend server needs to provide a simple authentication service using JWT web tokens that exposes a few basic methods:
/api/users/register: create a new user/api/users/login: authenticate an existing user/api/users/logout: delete the associated JWT token/api/users/edit- edit the information associated with a registered user
With these API requirements in mind, some other aspects should be clarified: the database type, used REST and JWT library, and of course, the project structure. To make our life easier, we will choose an SQLite persistence with the possibility to upgrade and migrate to heavier DBMS like MySql and PostgreSQL anytime.
Flask API Dependencies
flask-restx- used to code the API nodesFlask-JWT-Extended- handles the JWT Token managementFlask-SQLAlchemy- the abstract interface to the database
The codebase will use the app factory pattern where the API functionality is isolated in a separate folder and constructed like a Python Package. A possible codebase structure is shown below:
api-server-flask/
├── api
|   ├── __init__.py
│   ├── config.py      # configuration variables
│   ├── models.py      # defines the tables
│   └── routes.py      # implements API routes
|
├── requirements.txt   # project dependencies
├── run.py # project bootstrapperLet's code the routes, the most important part of our API server. Here is the most important code:
Routes.py - API Imports
# Imports
from flask_restx import Api, Resource, fields
import jwt
from .models import db, Users
Routes.py - the API object
...
rest_api = Api(version="1.0", title="Users API")
...
Routes.py - Define validation (SignUp sample)
signup_model = rest_api.model('SignUpModel', {"username": fields.String(required=True, min_length=2, max_length=32),
                                              "email": fields.String(required=True, min_length=4, max_length=64),
                                              "password": fields.String(required=True, min_length=4, max_length=16)
                                              })
Routes.py - Code the Registration API handler
...
@rest_api.route('/api/users/register')
class Register(Resource):
    """
       Creates a new user by taking 'signup_model' input
    """

    @rest_api.expect(signup_model, validate=True)
    def post(self):

        req_data = request.get_json()

        _username = req_data.get("username")
        _email    = req_data.get("email")
        _password = req_data.get("password")

        user_exists = Users.get_by_email(_email)
        if user_exists:
            return {"success": False,
                    "msg": "Email already taken"}, 400

        new_user = Users(username=_username, email=_email)

        new_user.set_password(_password)
        new_user.save()

        return {"success": True,
                "userID": new_user.id,
                "msg": "The user was successfully registered"}, 200
The above code snippets (validation, action handler) should be repeated for all methods exposed by the API.
Flask API - project resources
- Flask API Server - source code published on Github
- Support - Github (issues tracker) provided by AppSeed
6# - Test Flask API using POSTMAN
Once our API is up and running we can use POSTMAN, a popular free tool to test the backend code. We assume the Flask API server is started on port 5000 and the registration method is fully coded and functional.
Postman - Create a new collection and request with properties
- Request: POST over "http://localhost:5000/api/users/register"
- Header Content-type: "application-json"
- Body data: user/password and email
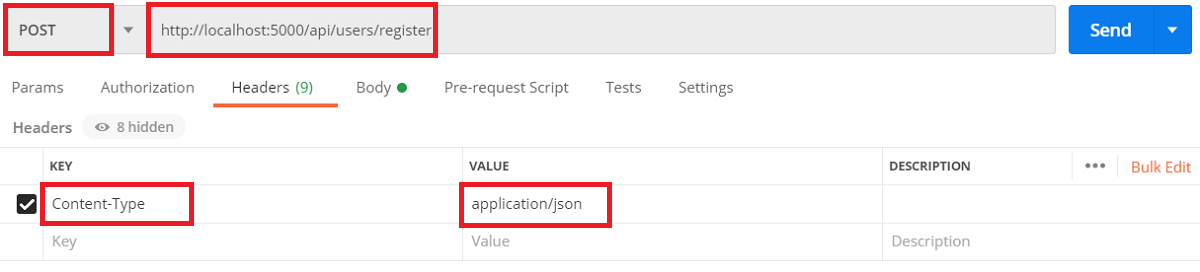
The Body Content specifies the credentials for the new user.
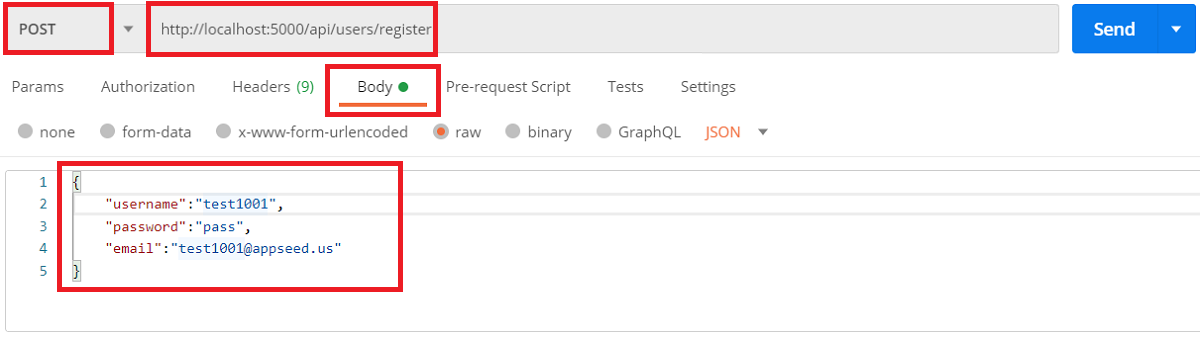
The Registration API Response

At this point, the user is created in the database and we can authenticate and move on with our full-stack project.
7# - Code React UI
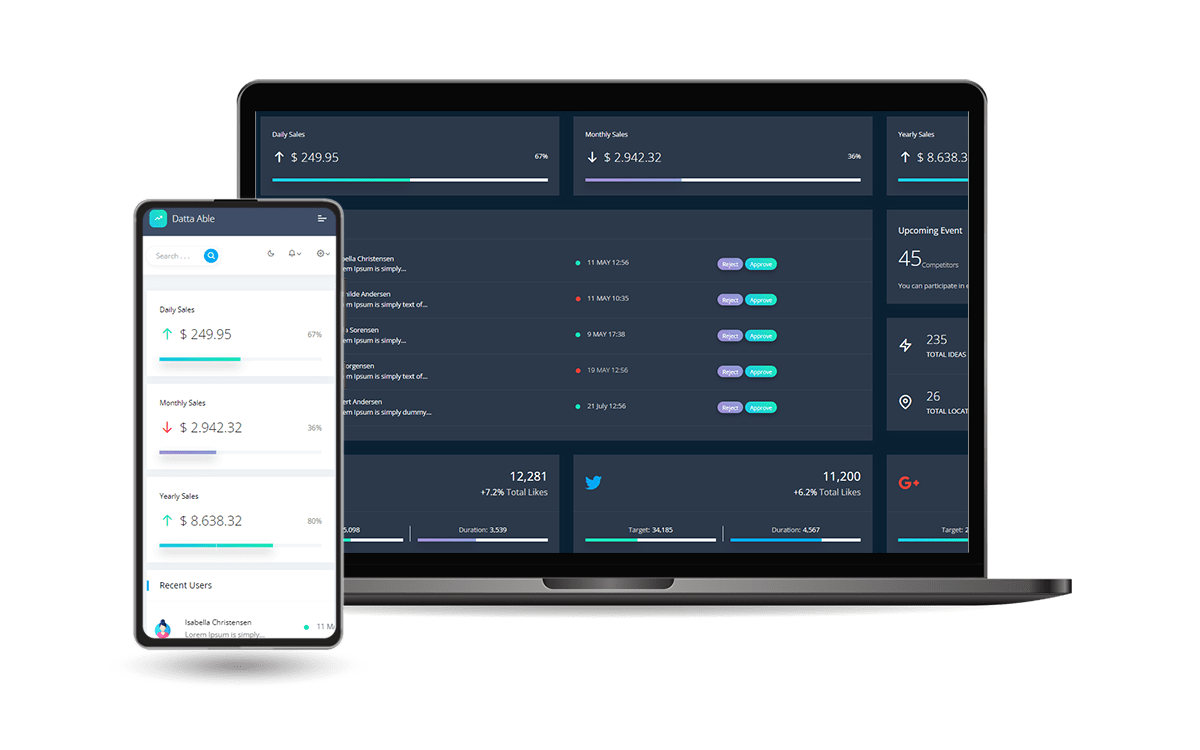
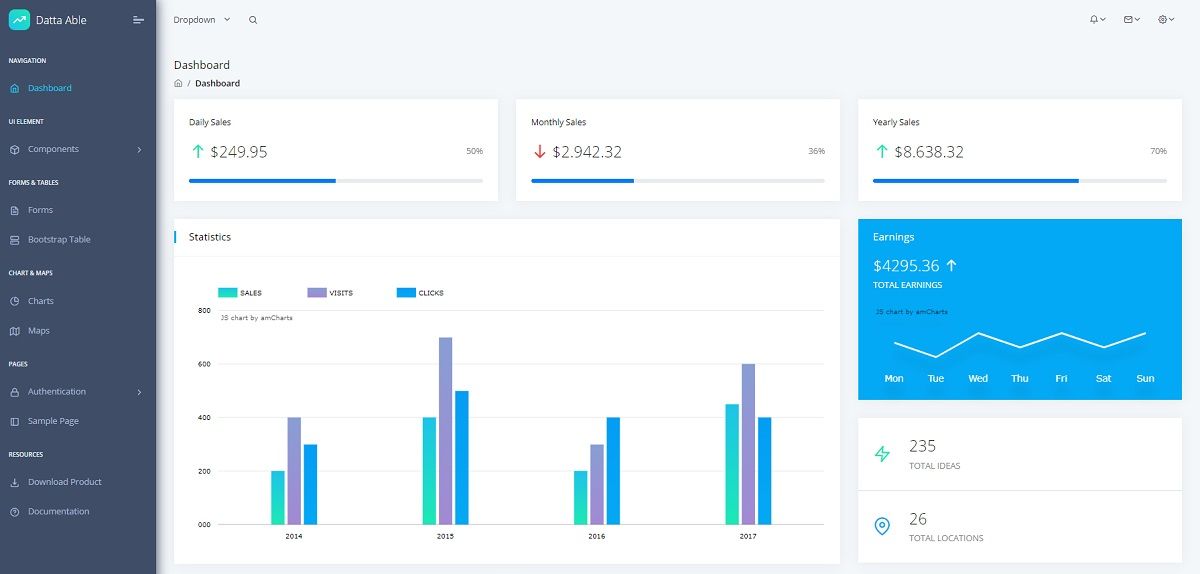
The React part of this tutorial is coded on top of an open-source project cloned from Github, React Datta Able, a really nice and colorful React Dashboard provided by CodedThemes.
The initial project, basically a React template, will be improved with a few simple features:
- Usable authentication flow compatible with the Flask API
- Actions: Login, Logout, and Register
- Guest users are redirected to the login page
- Private pages are visible only to authenticated users.
The product has a really nice design and the permissive license allows the usage for hobby and commercial products. Let's download the build this React template and later add the necessary code to code all features.
React Datta Able - Clone the template sources from the public repository
$ git clone https://github.com/codedthemes/datta-able-free-react-admin-template.git
$ cd datta-able-free-react-admin-template/templateInstall Dependecies - via NPM or Yarn
$ npm i
// OR
$ yarn
React Datta Able - Start project in development mode
$ npm run start
// OR
$ npm start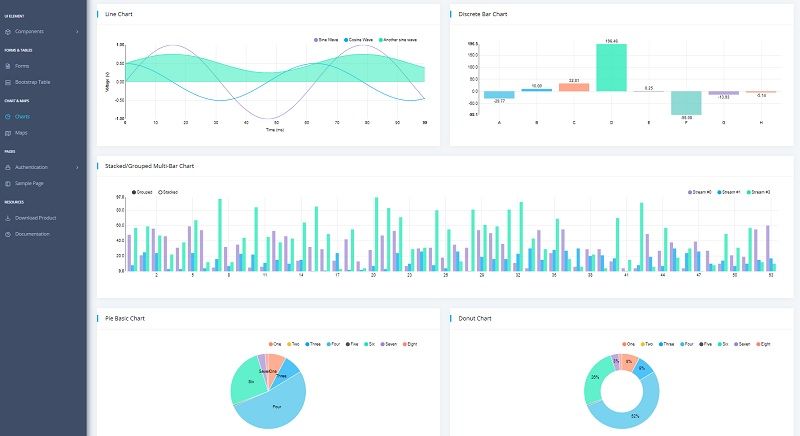
To code the new features the project dependencies should be updated with a few useful libraries:
- Formik - used to enhance and manage the registration forms
- Axios - used to manage the communication with Flask API
Once the new dependencies are properly installed, we can proceed further with the code.
Project configuration - URL of the backend API
The application will use a common set of variables imported in different places like login, logout, etc. To make our life easier, it might be a good idea to define all variables in a single file: src/config/constant.js
export const BASENAME = ''; // don't add '/' at end off BASENAME
export const BASE_URL = '/app/dashboard/default';
export const BASE_TITLE = ' | React Datta Able ';
export const API_SERVER = 'http://localhost:5000/api/';The most important value is saved by the API_SERVER variable, basically the address of our Flask API. When the project goes into production, this address should be updated accordingly with the address of the public API.
Create a Guest Guard component
This component is responsible to detect if the current user is authenticated or not. Guest users are redirected to Sign IN and authenticated uses are allowed to access all private pages.
import React from 'react';
import { Redirect } from 'react-router-dom';
import { useSelector } from 'react-redux';
import { BASE_URL } from '../../config/constant';

const GuestGuard = ({ children }) => {
    const account = useSelector((state) => state.account);
    const { isLoggedIn } = account;

    if (isLoggedIn) {
        return <Redirect to={BASE_URL} />;
    }

    return <React.Fragment>{children}</React.Fragment>;
};

export default GuestGuard;Create a Redux-store that manages the user state
The React app should be able to make decisions based on the information associated with the current user. The redux-store provides this information in a simple way using a few variables and objects:
export const initialState = {
    token: '',
    isLoggedIn: false,
    isInitialized: false,
    user: null
};

const accountReducer = (state = initialState, action) => {
    switch (action.type) {
        case ACCOUNT_INITIALIZE: {
            const { isLoggedIn, user, token } = action.payload;
            return {
                ...state,
                isLoggedIn,
                isInitialized: true,
                token,
                user
            };
        }
        case LOGIN: {
            const { user } = action.payload;
            return {
                ...state,
                isLoggedIn: true,
                user
            };
        }
        case LOGOUT: {
            return {
                ...state,
                isLoggedIn: false,
                token: '',
                user: null
            };
        }
        default: {
            return { ...state };
        }
    }
};
The variables associated with the current user should be updated based on the actions performed in the session:
- Guest access: the session user is Null and
isLoggedInstate is false - Login: the user is successfully authenticated by the backend. Of course,
isLoggedInstate becomes true - Logout: all session data is deleted and
isLoggedInbecomes false again
At this point, the React UI can be used to register and authenticate users.
8# - Compile the Free Samples
All the above code is already provided on GitHub in two separate projects:
- Flask API Server - simple, open-source API server
- React Datta Able - enhanced version with JWT authentication
Compile and start the Flask API Server
Step #1 - Clone the source code
$ git clone https://github.com/app-generator/api-server-flask.git
$ cd api-server-flaskStep #2 - Install dependencies using a virtual environment
$ virtualenv env
$ source env/bin/activate
$
$ pip3 install -r requirements.txtStep #3 - Set up the environment
$ export FLASK_APP=run.py
$ export FLASK_ENV=development
Step #4 - Create the SQLite database and tables
$ flask shell
>>> from api import db
>>> db.create_all()
Step #5 - Start the API server
$ flask run
// the API server runs on http://localhost:5000At this point, our API server should be up & running.
Compile and start the React UI
Step #1 - Clone the source code
$ git clone https://github.com/app-generator/react-datta-able-dashboard.git
$ cd react-datta-able-dashboard Step #2 - Install dependencies
$ npm i
// OR
$ yarn Step #3 - Start in development mode
$ npm run start
// OR
$ yarn start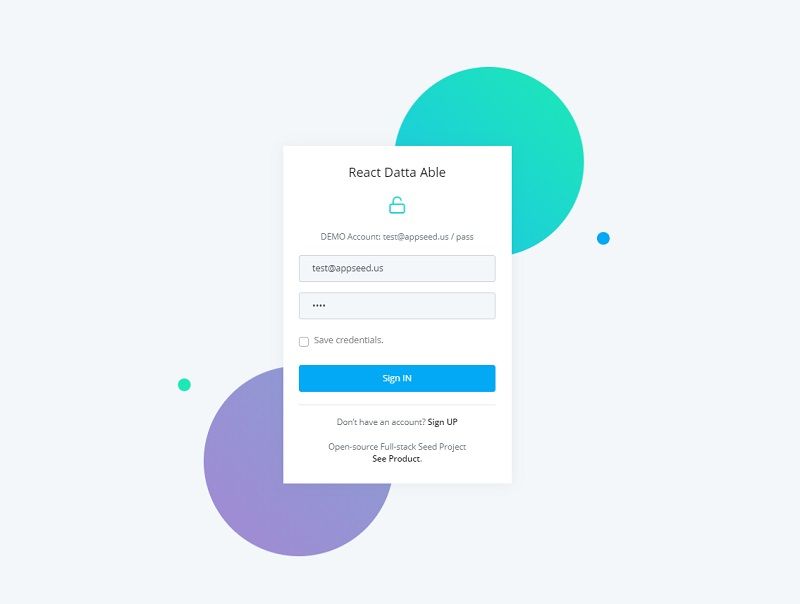
// the React UI runs on http://localhost:3000The browser should display the Sign IN page and we can register new users and authenticate.
In case you're a junior developer or know one, this PROMO Bundle crafted, and Discounted with 85% by Creative-Tim might be useful. The package includes a rock-solid collection of premium assets (Kits & Dashboards) that can be used to build eye-catching portfolios and web apps in no time.
👉 Junior PROMO Bundle - What's included
- ✅ 24 PREMIUM Kits and Dashboards
- ✅ Designer Files (Figma projects)
- ✅ Lifetime Usage
- ✅ Premium Support