Flask User Authentication - Includes Free Sample
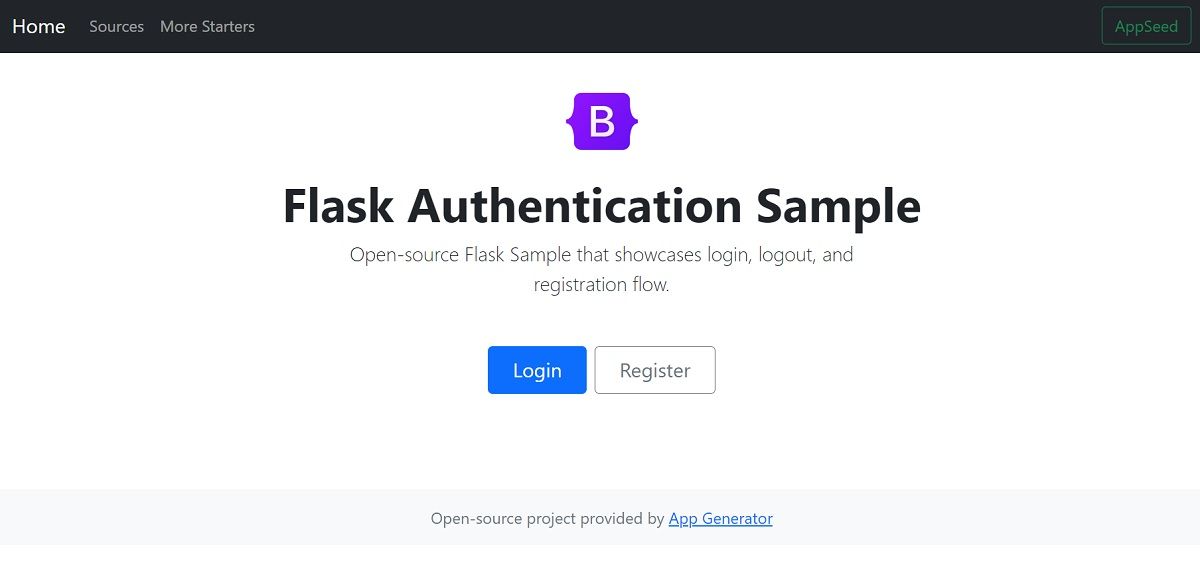
The article explains how to code a simple Flask Authentication System using Flask-Login and Bootstrap 5 - Free sample included (published on Github).

Hello! This article explains how to code a Flask User Authentication system using Flask-Login and Bootstrap 5. Being able to distinguish one user from another web apps can be improved substantially in terms of features and control. For instance, we can split the project structure into public/private sections and also empower users to perform specific actions based on their profiles. For newcomers, Flask is a lightweight framework crafted on top of Python used for any kind of project and web apps: simple sites, APIs, microservices, or even complex eCommerce solutions.
Thanks for reading! Topics covered by this tutorial:
- Section #1 - The general view of the project
- Section #2 - What is Flask
- Section #3 -
Flask-Loginlibrary - Section #4 - Code the project
- Section #5 - Login, Logout, Registration routes
- Section #6 - Full Source code (published on Github)
1# - Project Overview
Authentication might not be necessary for simple presentation sites but mandatory for other types of projects where the project design requires to know when a user is authenticated and what resources to be accessed based on his credentials (username, profiles .. etc). The project we will code provides a simple codebase structure, SQLite persistence, and three pages (index, login, register) styled with Bootstrap 5. Here are the project dependencies:
Flask- the framework that powers the appFlask-Login- a popular library used to manage the sessionsFlask-Bcrypt- used for password encryptionFlask-SqlAlchemy- a popular library to access the database
Codebase structure
< PROJECT ROOT >
   |
   |-- app/
   |    |-- static/
   |    |    |-- <css, JS, images>    # CSS files, Javascripts files
   |    |
   |    |-- templates/
   |    |    |
   |    |    |-- index.html           # Index File
   |    |    |-- login.html           # Login Page
   |    |    |-- register.html        # Registration Page
   |    |
   |    |
   |   config.py                      # Provides APP Configuration
   |   forms.py                       # Defines Forms (login, register)
   |   models.py                      # Defines app models
   |   views.py                       # Application Routes
   |
   |-- requirements.txt
   |-- run.py
   |
   |-- **************************************
2# - What is Flask
Flask is a popular Python Framework designed to a project quick and easy, with the ability to scale up to complex applications. Flask can be used to code from simple one-page sites to APIs and complex eCommerce solutions.

The easiest way to install Flask is to use PIP, the official package manager shipped with Python.
$ pip install FlaskDuring the setup, a basic set of core dependencies are also installed:
- Werkzeug implements WSGI, the standard Python interface between applications and servers.
- Jinja is a template language that renders the pages your application serves.
- Click is a framework for writing command-line applications. It provides the flask command and allows adding custom management commands.
Once the installation is finished we can open an editor and code our first Flask app with a few lines of code:
from flask import Flask
app = Flask(__name__)

@app.route('/')
def hello_world():
return 'Hello, Flask Authentication!'#3 - Flask-Login Library
Flask-Login, probably the most popular authentication library for Flask, provides user session management and handles the common tasks of logging in, logging out, and remembering your users’ sessions over extended periods of time.
Install Flask-Login
$ pip install flask-loginThe most important part of an application that uses Flask-Login is the LoginManager class.
login_manager = LoginManager()Once the Flask application object has been created, you can configure it for login with a single line:
login_manager.init_app(app)How it Works
The app needs to provide a user_loader callback. This callback is used to reload the user object from the user ID stored in the session.
@login_manager.user_loader
def load_user(user_id):
return User.get(user_id)The above core principles of Flask-Login cover the basic implementation of a simple authentication system that we will code in full in the next section.
#4 - Coding the project
Before we actually code the features, let's visualize again the structure and mention the most relevant files:
run.py- is the entry point in our projectappdirectory bundles all files and assets used in our projectapp/config.py- isolates the app configuration in a single placeapp/forms.py- definesSignIN,SignUPformsapp/models.py- defines the Users tableapp/views.py- handles the app routing likelogin,logoutandregister
< PROJECT ROOT >
   |
   |-- app/
   |    |-- static/
   |    |    |-- <css, JS, images>    # CSS files, Javascripts files
   |    |
   |    |-- templates/
   |    |    |
   |    |    |-- index.html           # Index File
   |    |    |-- login.html           # Login Page
   |    |    |-- register.html        # Registration Page
   |    |
   |    |
   |  __init__.py                     # Bundle APP as package
   |   config.py                      # Provides APP Configuration
   |   forms.py                       # Defines Forms (login, register)
   |   models.py                      # Defines app models
   |   views.py                       # Application Routes
   |
   |-- requirements.txt
   |-- run.py
   |
   |-- **************************************
run.py - source codeThe file is a super simple loader of the APP package.
from app import app, dbapp/config.py - APP ConfigurationFor easier access, all variables are exposed by a Config class:
...
class Config():

    CSRF_ENABLED = True

    # Set up the App SECRET_KEY
    SECRET_KEY = config('SECRET_KEY', default='S#perS3crEt_007')

    # This will create a file in <app> FOLDER
    SQLALCHEMY_DATABASE_URI = 'sqlite:///db.sqlite3'
    SQLALCHEMY_TRACK_MODIFICATIONS = False
The SECRET_KEY variable is used to encrypt the session information and SQLALCHEMY_DATABASE_URI is used to locate the SQLite database (basically a file).
app/forms.py - Login and registration formsclass LoginForm(FlaskForm):
username = StringField (u'Username' , validators=[DataRequired()])
password = PasswordField(u'Password' , validators=[DataRequired()])
class RegisterForm(FlaskForm):
name = StringField (u'Name' )
username = StringField (u'Username' , validators=[DataRequired()])
password = PasswordField(u'Password' , validators=[DataRequired()])
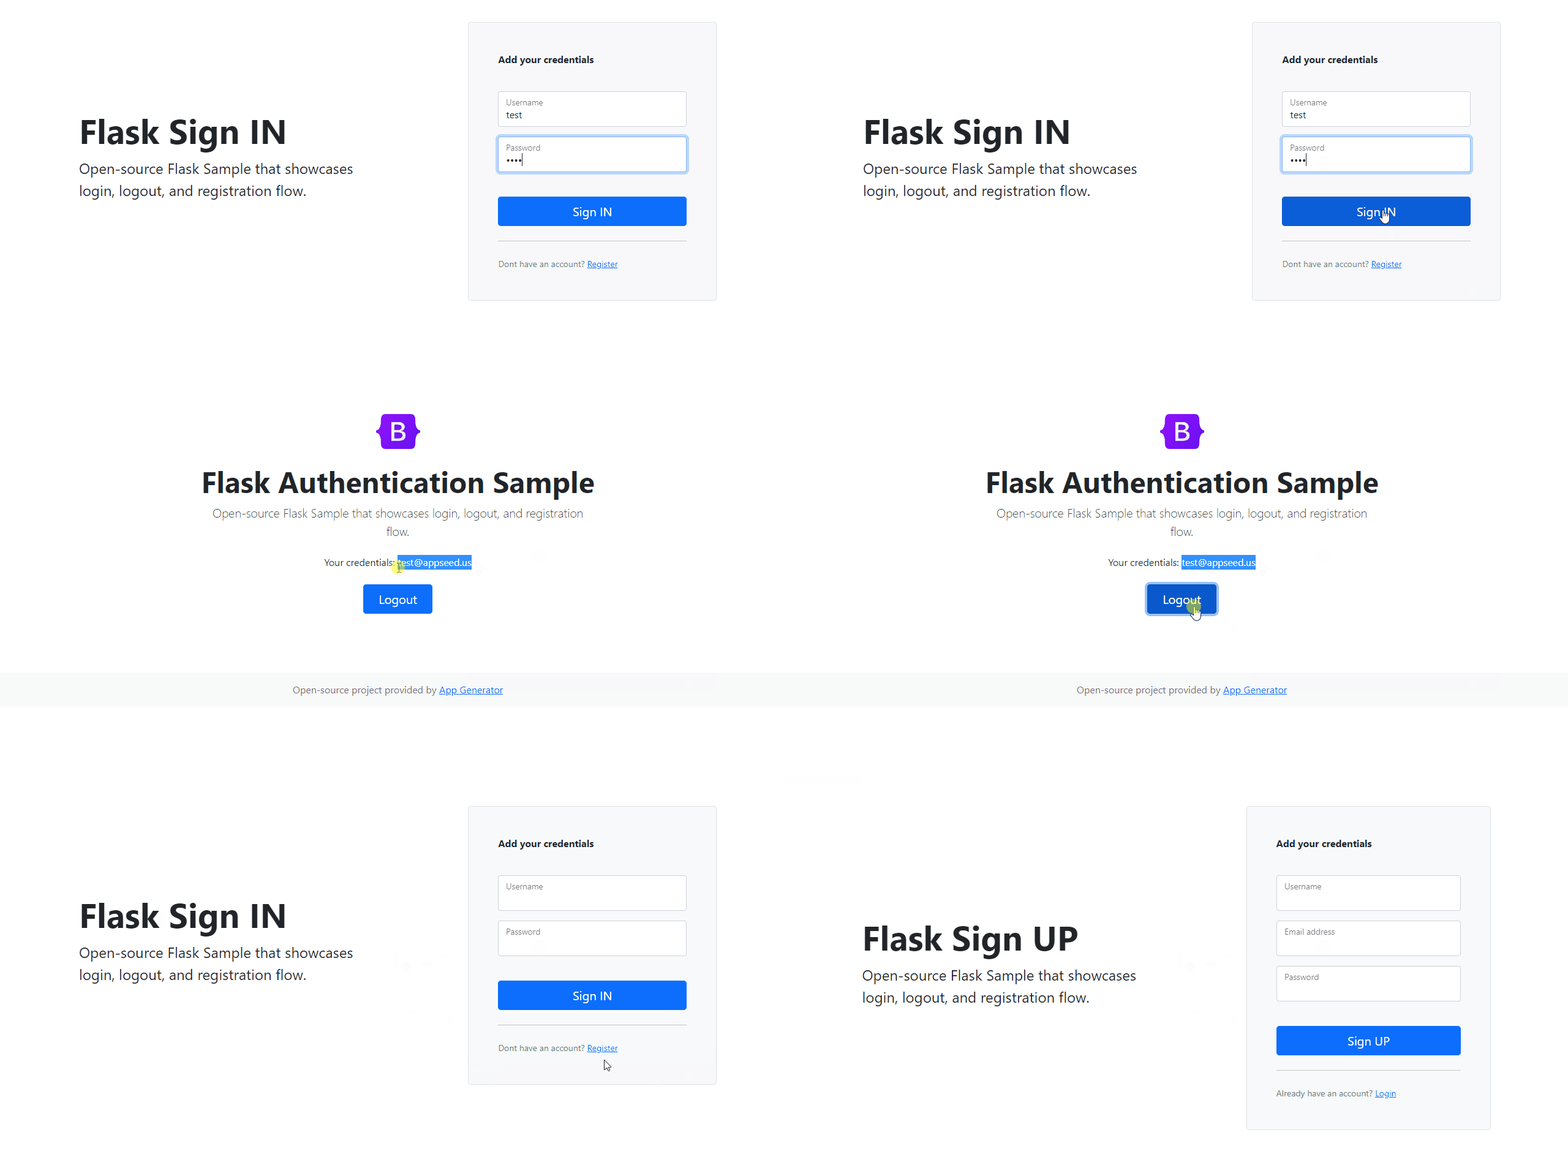
email = StringField (u'Email' , validators=[DataRequired(), Email()])The login form requires a username and a password to authenticate and the registration form has an extra email field.
app/models.pyDefined theUserstable
...
class Users(db.Model, UserMixin):

    __tablename__ = 'Users'

    id       = db.Column(db.Integer,     primary_key=True)
    user     = db.Column(db.String(64),  unique = True)
    email    = db.Column(db.String(120), unique = True)
password = db.Column(db.String(500))All above sections are bundled to build the Flask app in a special file saved in the app directory: "__init__.py"
...
app = Flask(__name__)                       # constructs the Flask app

app.config.from_object('app.config.Config') # injects the configuration

db = SQLAlchemy  (app) # flask-sqlalchemy   # connects to SQLite DB

lm = LoginManager(   )                      # flask-loginmanager
lm.init_app(app)                            # init the login manager
#5 - Authentication routes
All app routes are provided by the app/views.py file saved in app directory.
/register route - handles the onboarding of the new usersThe pseudocode implemented by the method is pretty simple:
- If the request type is
GET, serve the registration page to the user - If the user submitted the information, the method performs the checks
- Once the data is validated, the
Userpassword is hashed - The
Userobject is created and saved into the database
...
@app.route('/register', methods=['GET', 'POST'])
def register():

    # declare the Registration Form
    form = RegisterForm(request.form)

    if request.method == 'GET':

        return render_template( 'register.html', form=form, msg=msg )

    # check if both http method is POST and form is valid on submit
    if form.validate_on_submit():

        # assign form data to variables
        username = request.form.get('username', '', type=str)
        password = request.form.get('password', '', type=str)
        email    = request.form.get('email'   , '', type=str)

        pw_hash = bc.generate_password_hash(password)

        user = Users(username, email, pw_hash)

        user.save()

        msg     = 'User created'
        success = True

    else:
        msg = 'Input error'

    return render_template( 'register.html', form=form, msg=msg, success=success )
/login route - authenticate registered users@app.route('/login', methods=['GET', 'POST'])
def login():
# Declare the login form
form = LoginForm(request.form)
# Flask message injected into the page, in case of any errors
msg = None
# check if both http method is POST and form is valid on submit
if form.validate_on_submit():
# assign form data to variables
username = request.form.get('username', '', type=str)
password = request.form.get('password', '', type=str)
# filter User out of database through username
user = Users.query.filter_by(user=username).first()
if user:
if bc.check_password_hash(user.password, password):
login_user(user)
return redirect(url_for('index'))
else:
msg = "Wrong password. Please try again."
else:
msg = "Unknown user"
return render_template( 'login.html', form=form, msg=msg )/logout route - delete the session data associated to the user# Logout user
@app.route('/logout')
def logout():
logout_user()
return redirect(url_for('index'))6# - Full Source Code
The source code explained in this article can be downloaded from Github (MIT license) and used for hobby and commercial projects.
Flask User Authentication - source code
To compile and start the project locally, please follow the instructions provided by the README file.

Thanks for reading! For more resources, please access:
- Flask Dashboards - free & commercial products
- Free Admin Dashboards - a curated list provided by AppSeed