Django Admin Dashboards - Open-Source and Free
This article presents a curated list with open-source admin panels coded with a minimum set of features (UI-ready, authentication, database, simple code-base) in Django, the popular Python web framework.

Hello Coders,
This article presents a curated list with open-source admin panels coded with a minimum set of features (UI-ready, authentication, database, simple code-base) in Django, the popular Python web framework. In case you are in a rush, I will make a short intro about the features and common characteristics for all apps mentioned here:
- Apps are generated with automation tools by the AppSeed platform - for more information and free apps please access: I've built 100+ web apps with tools
- The source code is published on Github (no account needed to use the apps)
- UI-Ready built on top of some popular and free UI Kits: black design, material, light design, argon and now ui, provided by well-known agencies.
- Session-Based Authentication (login, register)
- SQLite database, ORM (Django native)
- Simple and modular code-base, that might be a good learning base for students beginners
- License MIT - all projects are suitable for hobby and commercial products
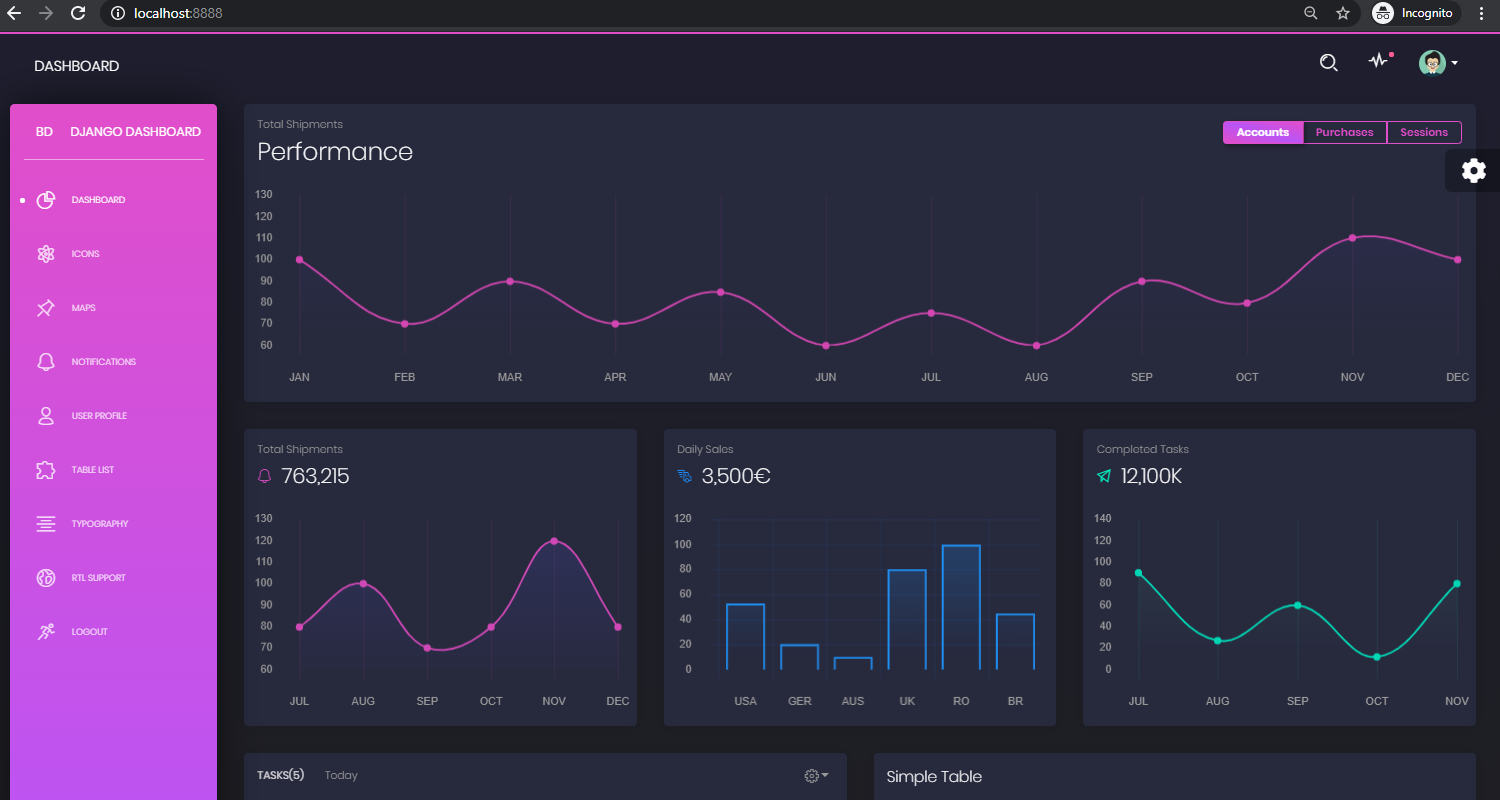
- Django Dashboard Black - source c0de, design Creative-Tim
- Django Dashboard Material - source code, design Creative-Tim
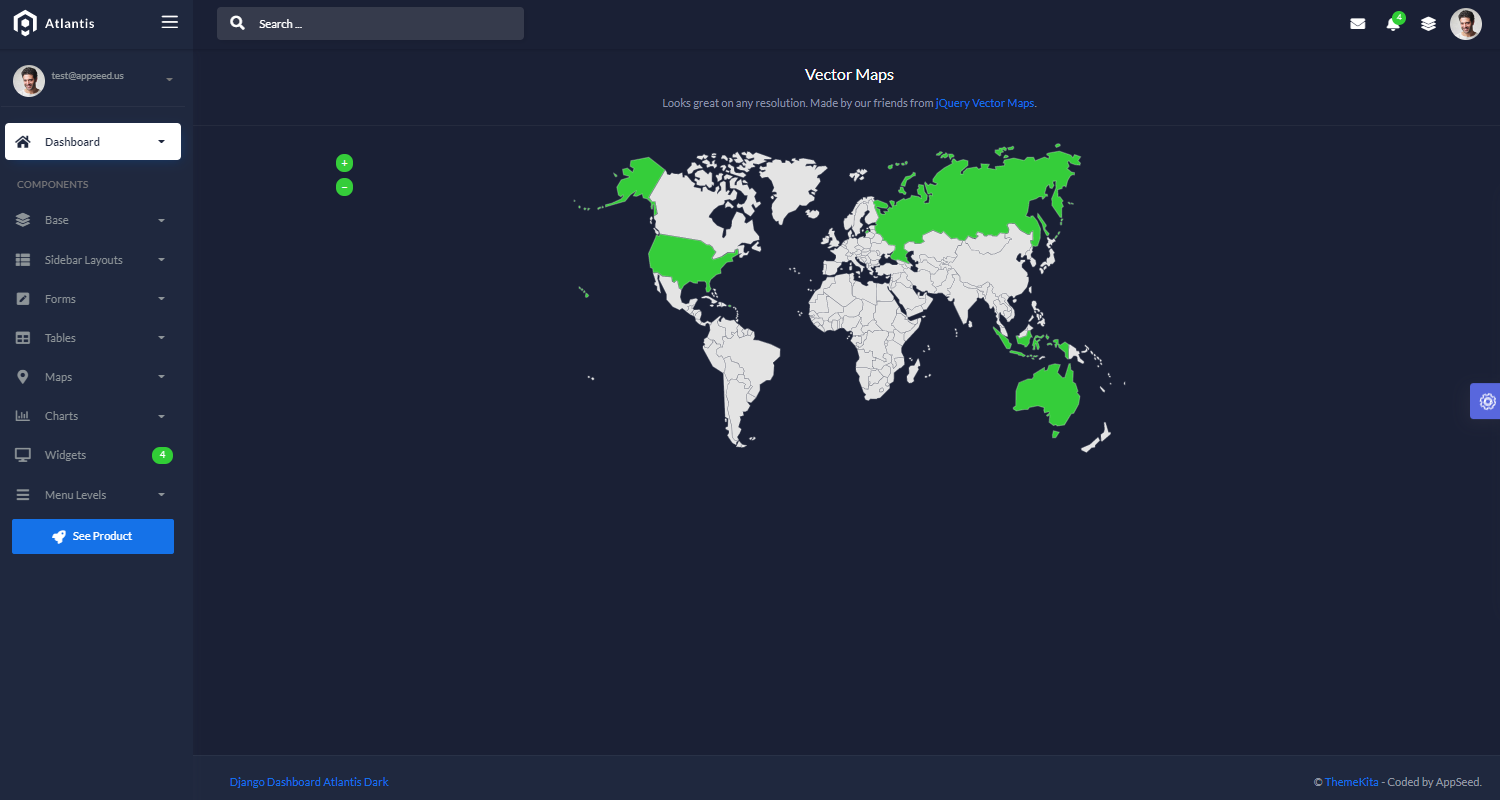
- Django Atlantis Dark - source code, design ThemeKita
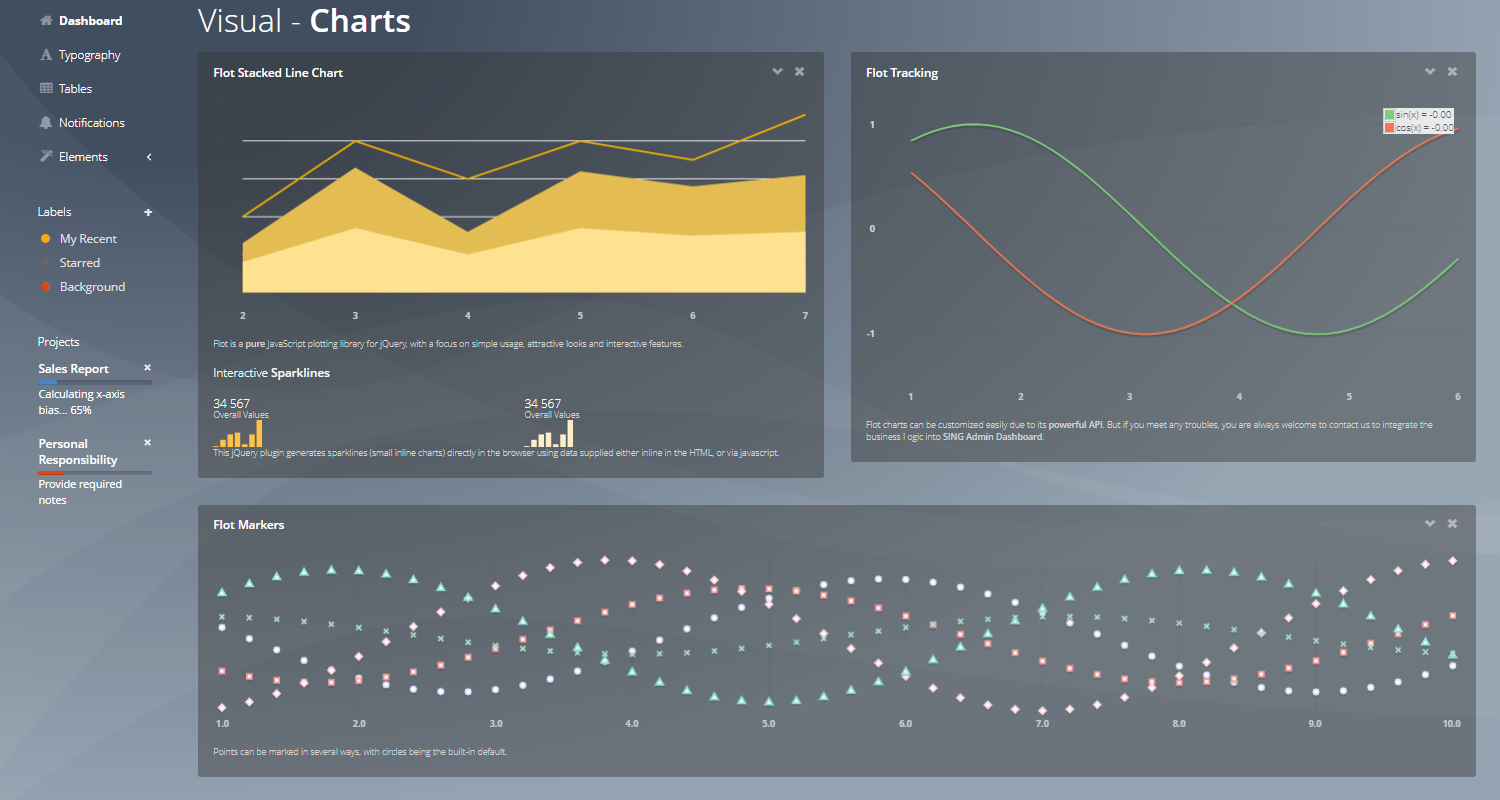
- Django Panel Light Blue - source code, design FlatLogic
- Django Dashboard Argon - source code, design Creative-Tim
Django Dashboard Black - App Screen
Django Atlantis Dark - App Screen
Django Panel Light Blue - App Screen
What is Django (web framework)
Django is an open-source web application framework written in Python. A framework means a collection of modules and helpers that make development easier. They are logically grouped together and allow you to create web applications by reusing stuff, instead of writing all from scratch.
Useful Django Resources:
- Django - official website and docs
- Reddit/r/Django - a super active Reddit community
- Django - related content provided by the (popular) Full-Stack-Python platform
How to use the code
In order to build the apps, we need to have Python3 installed in the workstation. We can check the install by typing `python --version` in the terminal :
$ python --version
$ Python 3.7.2 <---- All Good
As mentioned, the source code, for all applications is published on Github, the popular platform used to manage software projects. We can download the source code as zip archives but is more convenient to use the GIT command tool to clone the source code locally. For instance, let's clone the source code for Atlantis Dark dashboard:
$ # Get the code
$ git clone https://github.com/app-generator/django-dashboard-atlantis-dark.git
$ cd django-dashboard-atlantis-dark
The next step is to install the project dependencies listed in a file named `requirements.txt`. We can do this in two ways:
- Using the global Python environment, to install the project dependencies is not always a good practice based on the fact that we might have conflicts between versions used in other applications
- Using a Virtual environment - most of the time, the recommended way that helps us to execute and build the app using Python sandbox. All modules required by the app are installed inside the Virtual ENV and the risk to have conflicts with modules used by other Python apps disappears.
To activate a Virtual ENV, and install the modules we need to type a few simple commands in the terminal:
$ # Make sure you are inside the project
$ cd django-dashboard-atlantis-dark
$
$ # Virtualenv modules installation (Unix based systems)
$ virtualenv --no-site-packages env
$ source env/bin/activate
$
$ # Virtualenv modules installation (Windows based systems)
$ # virtualenv --no-site-packages env
$ # .\env\Scripts\activate
$
$ # Install modules
$ pip3 install -r requirements.txt
If all goes well, we can proceed with the next step: create the database and necessary tables. The DBMS behind the all apps is SQLite, a native SQL engine used in Django applications and this setup consists into type two simple commands in the terminal:
$ # makemigrations sub-command will generate the necessary SQL code
$ python manage.py makemigrations
$
$ # Migrate sub-command will create the SQLite database and tables
$ python manage.py migrate
In the project root, a new file with `sqlite` extension should be visible and we are good to start the app, and see something nice on the screen:
$ # Start the application (development mode)
$ python manage.py runserver # default port 8000
$
$ # Start the app - custom port
$ # python manage.py runserver 0.0.0.0:<your_port>
$
$ # Access the web app in browser: http://127.0.0.1:8000/
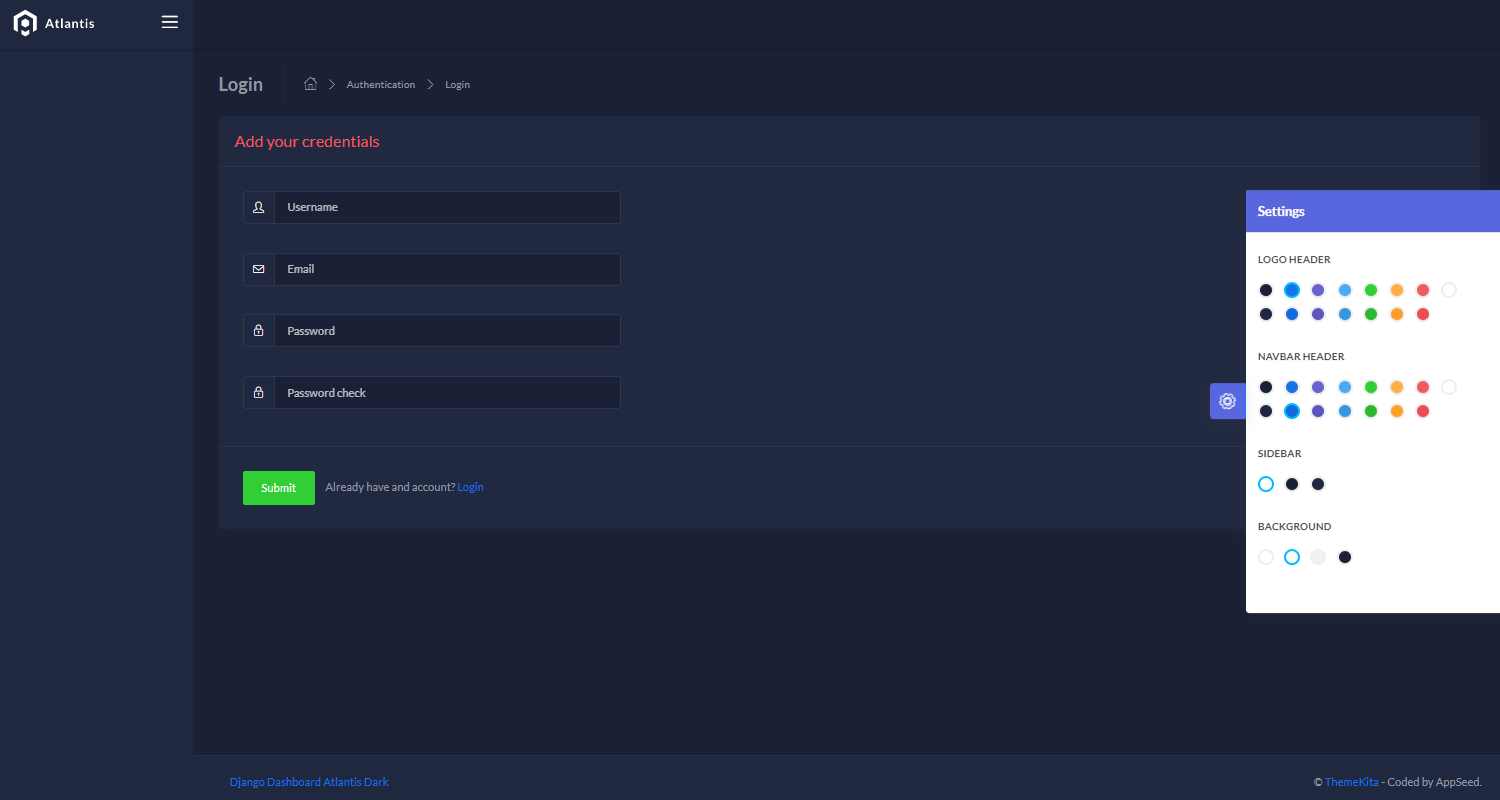
By visiting the address `http://localhost:8000` in the browser, the app should be up & running. By default, there is no default user defined in the application, and we need to create one in the registration page:
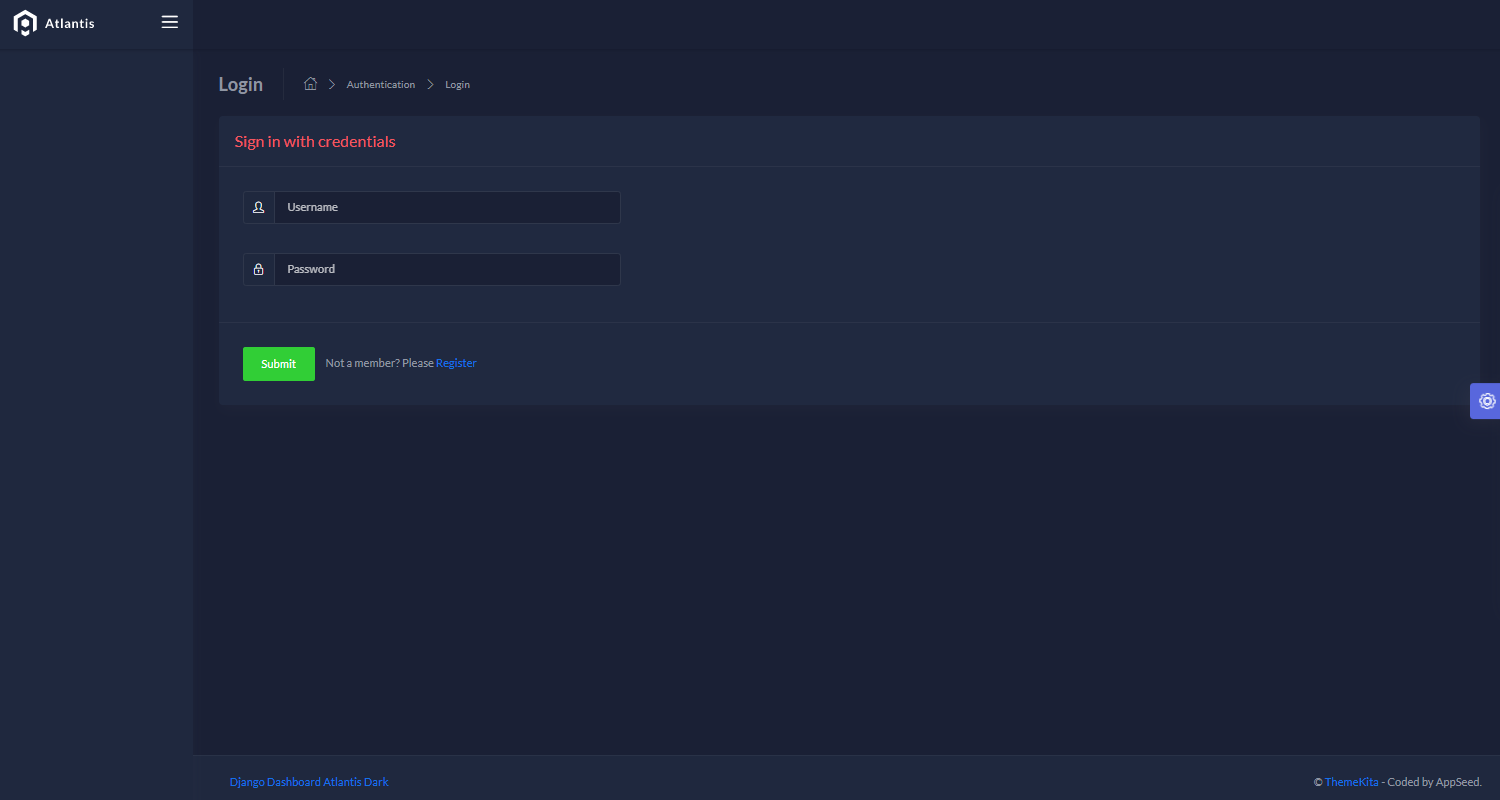
After user creation, we can access the login page and authenticate:
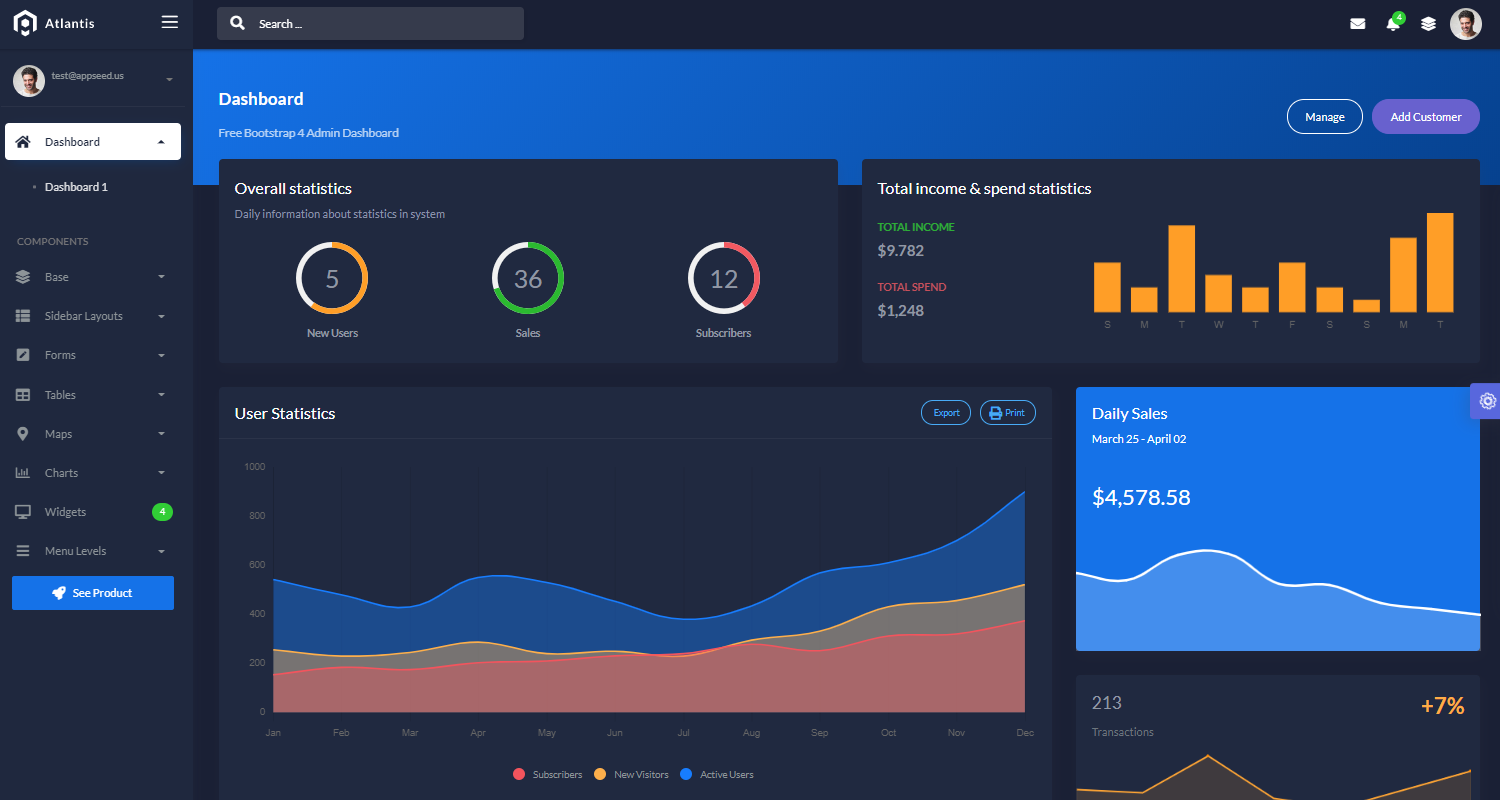
After login, we should see the web app menus and the default dashboard page:
By cloning and updating any of the apps presented in this article, students and beginners might accelerate their learning curve by coding on top of real projects suitable for production and commercial releases.
Thanks for reading!
- Read more about Python and Django
- Learn Django by coding simple tasks - a popular article published on Dev
- Learn how this bundle with Django Web Apps was created: How I’ve built 100+ open-source apps with automation tools
- Access AppSeed for more Django Admin Panels and open source dashboards
- Django Admin Dashboards - curated index published on Github