Full-Stack React Purity - Premium Seed Project
Premium Full-Stack seed project with a modern React UI styled with Chakra, powered by a Node JS API Server.
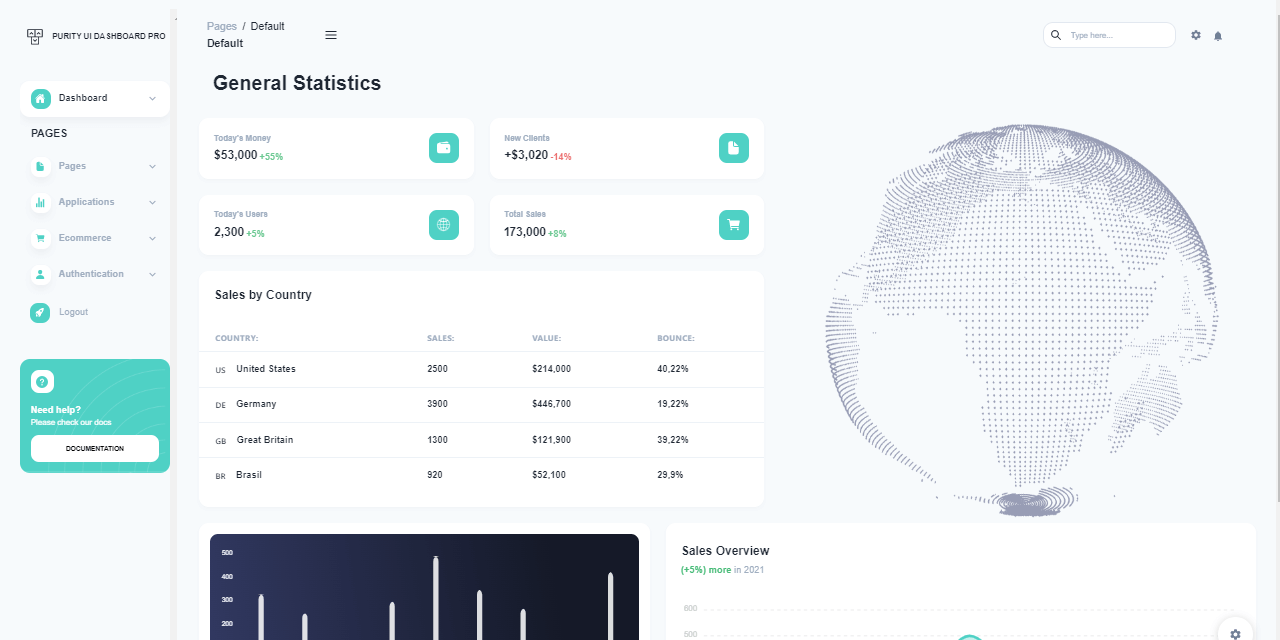
Hello! This article presents a Full-Stack Seed project that uses a pixel-perfect design styled with Chakra UI and a lightweight Node JS API server for the backend logic. Full-Stack React Purity comes with an impressive number of components, pages, and a production-ready authentication flow powered by JWT (JSON Web Tokens). For newcomers, React is a popular Javascript Library for coding user interfaces baked by Facebook. Thanks for reading!
- ✨ Full-Stack React Purity PRO - LIVE Demo
- ✨ Full-Stack React Purity PRO - product page
- ✨ React Node JS Purity - the open-source version 🚀🔥
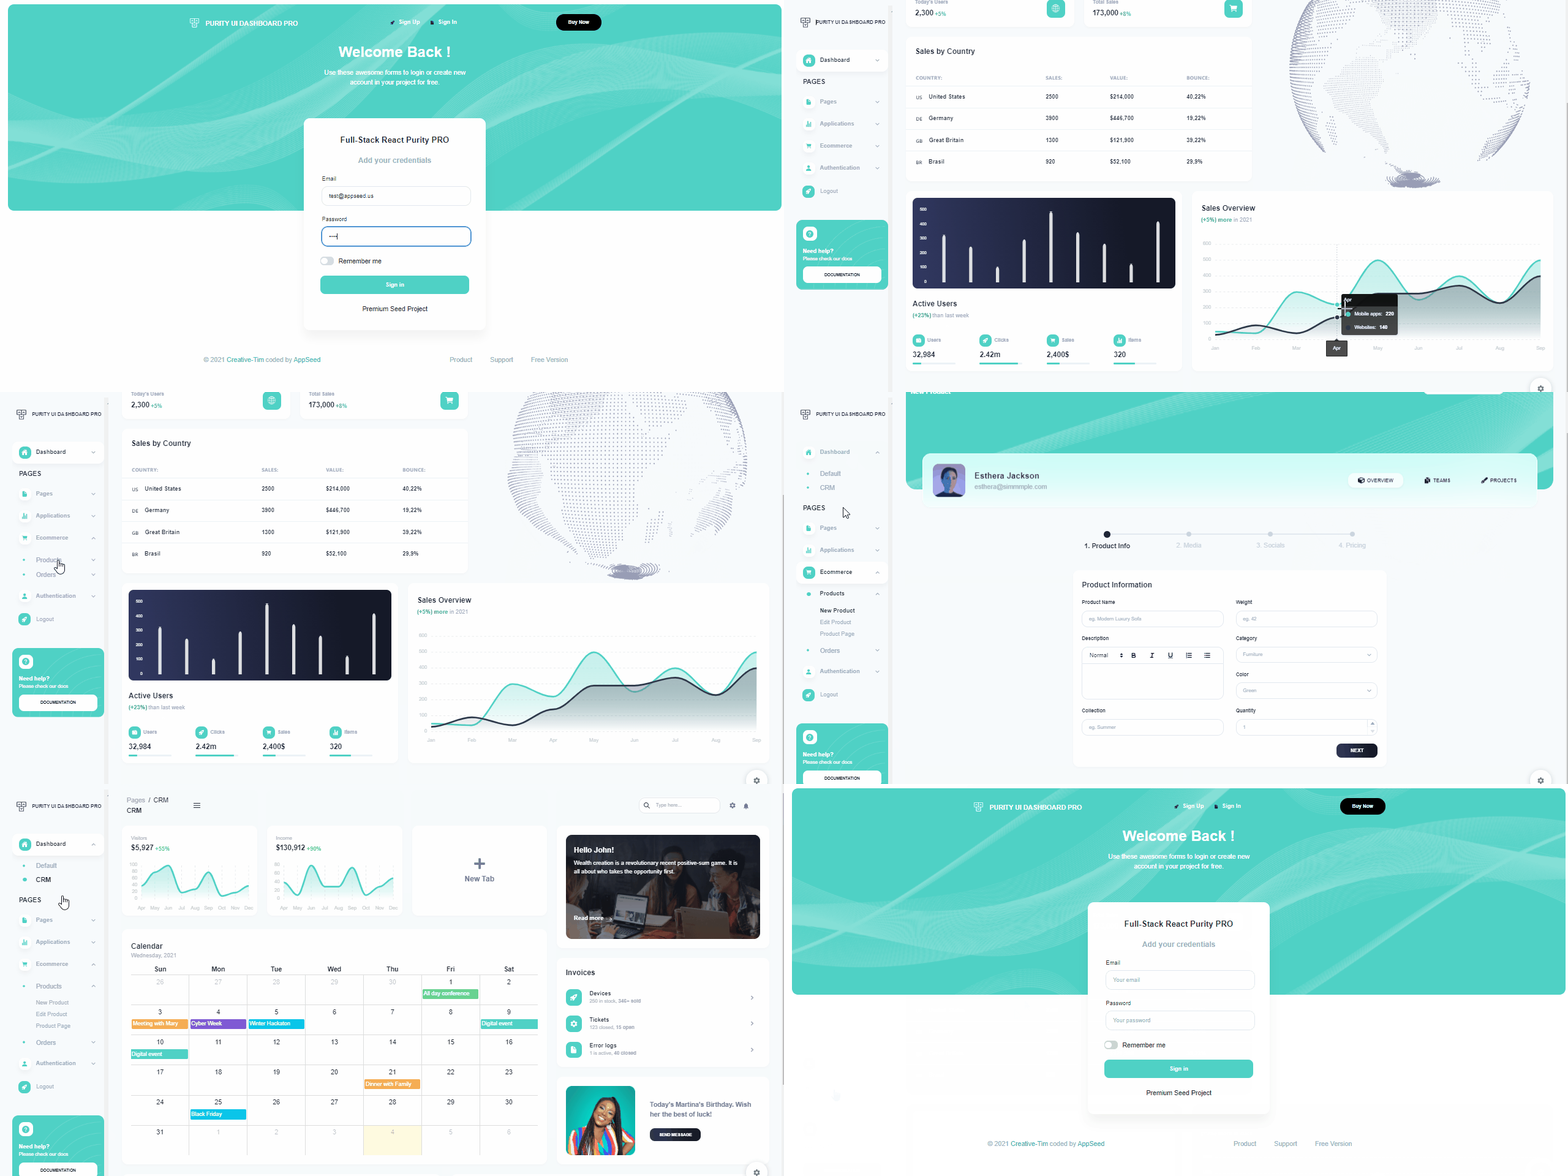
What's in the box
The product comes with a development-ready codebase crafted with a secure JWT Authentication flow (login, register, and logout) powered by a Node JS API server that manages the users and authentication tokens. The UI has an impressive number of components, pages, widgets, and pre-configured plugins that should provide a good start for any developer.
Pixel-PerfectUI styled with Chakra: Purity React PRO- 300+ Components, 32 Sample Pages (see demo)
- JWT Authentication Flow powered by Node JS API
- React UI compatible multiple API Servers: Flask/Django
- Docker support for the backend
- LIVE Support via Discord - 24/7 LIVE Server
How to use the product
To start the product in a local environment, we need to have the workstation prepared with a short-list of tools accessible in the terminal:
- NodeJS - a decent version (12.x or above)
- GIT - in case you are pulling the sources from Github
- Yarn - a popular package manager for NodeJS (better than NPM)
- A modern editor like VSCode or Atom
Once all the tools are properly installed we can move forward and start the product (backend and the frontend). In this article, we will use a NodeJS API server but the product can be used with other API servers like Flask or Django based on the Unified API Definition implemented by all servers.
Start the Backend Server
The API server is written in Typescript on top of Express, Passport Library (for JWT authentication), and TypeORM over SQLite for persistence.

Step #1 - Clone/download the sources
$ git clone https://github.com/app-generator/api-server-nodejs.git
$ cd api-server-nodejsStep #2 - Install Dependecies
$ npm i
// OR
$ yarnStep #3 - Set up the SQLite database (create tables)
$ yarn typeorm migration:runStep #4 - Start the API Server
$ npm dev
// OR
$ yarn devThe API interface used by the API is a simple JWT authentication layer that exposes the following methods:
/api/users/register: create a new user/api/users/login: authenticate an existing user/api/users/logout: delete the associated JWT token/api/users/checkSession: check an existing JWT Token for validity/api/users/edit- edit the information associated with a registered user
At this point, we should be able to use the API server using POSTMAN or any other compatible client ( curl or another React UI).
Start the React UI
The React frontend once is downloaded, can be started and used using the classic compilation flow:
$ yarn        # install modules
$ yarn start  # start for development (with LIVE reload)
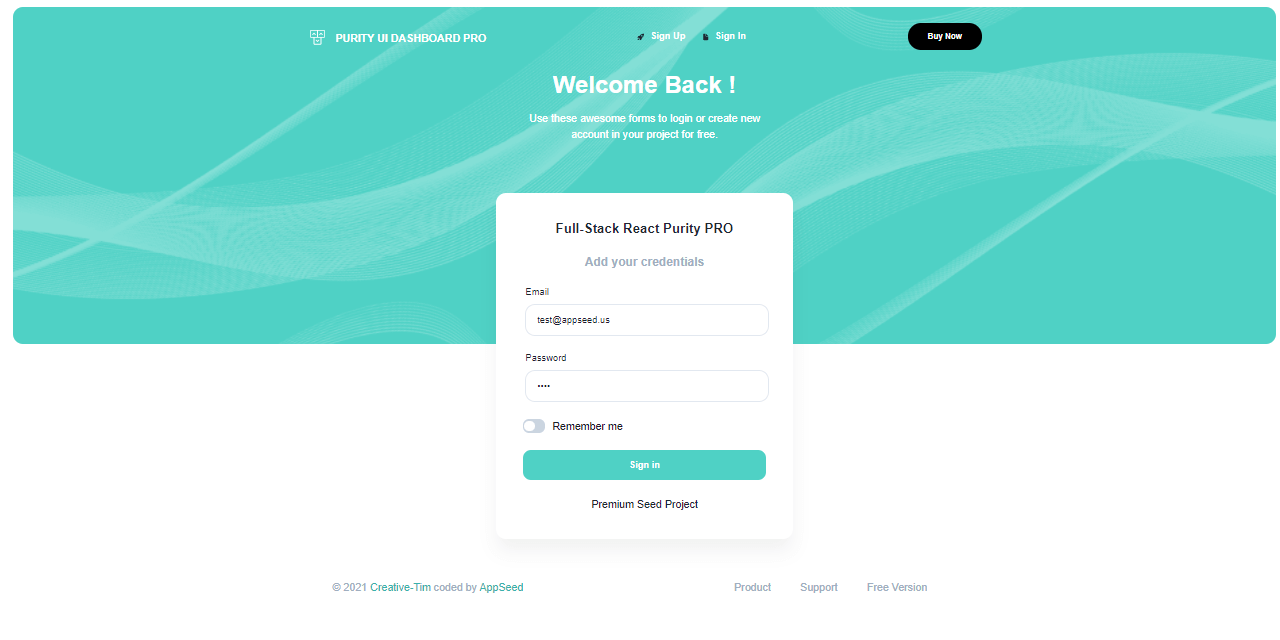
$ yarn build # production buildBy default, the React UI redirects guest users to the login page to authenticate and this is the reason we should see the Sign IN as the first page loaded in the browser. After successful registration and login, all private pages are unlocked and we can access all pages shipped by the Purity UI Kit.
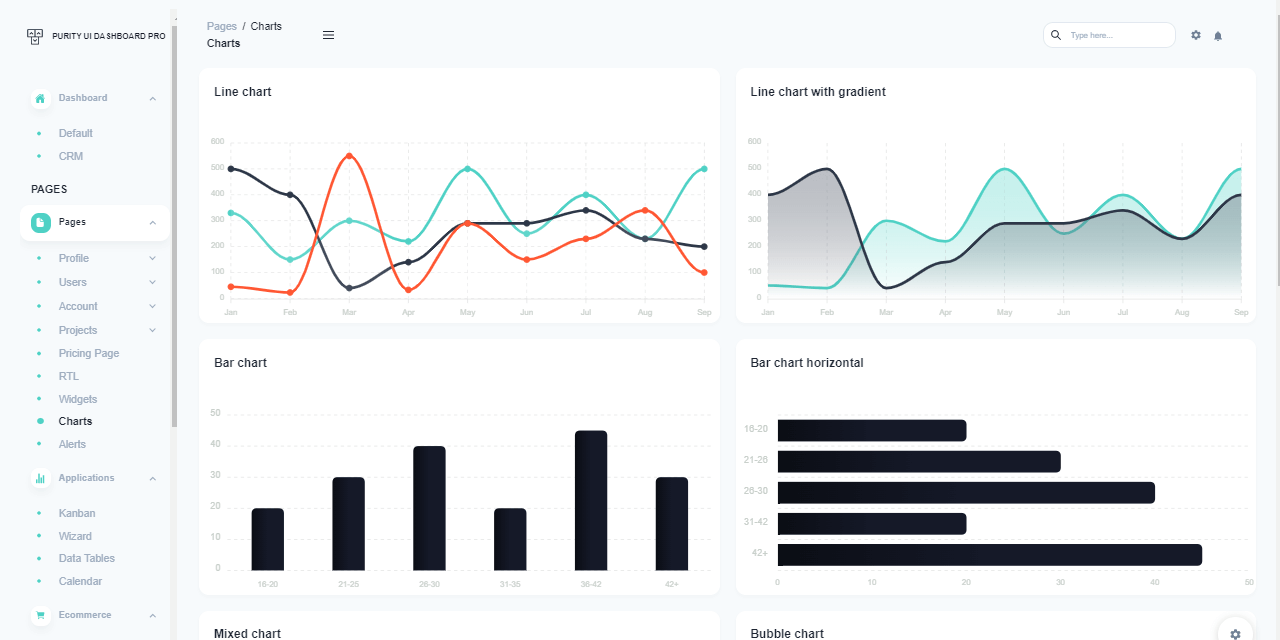
Full-Stack React Purity - Charts Page
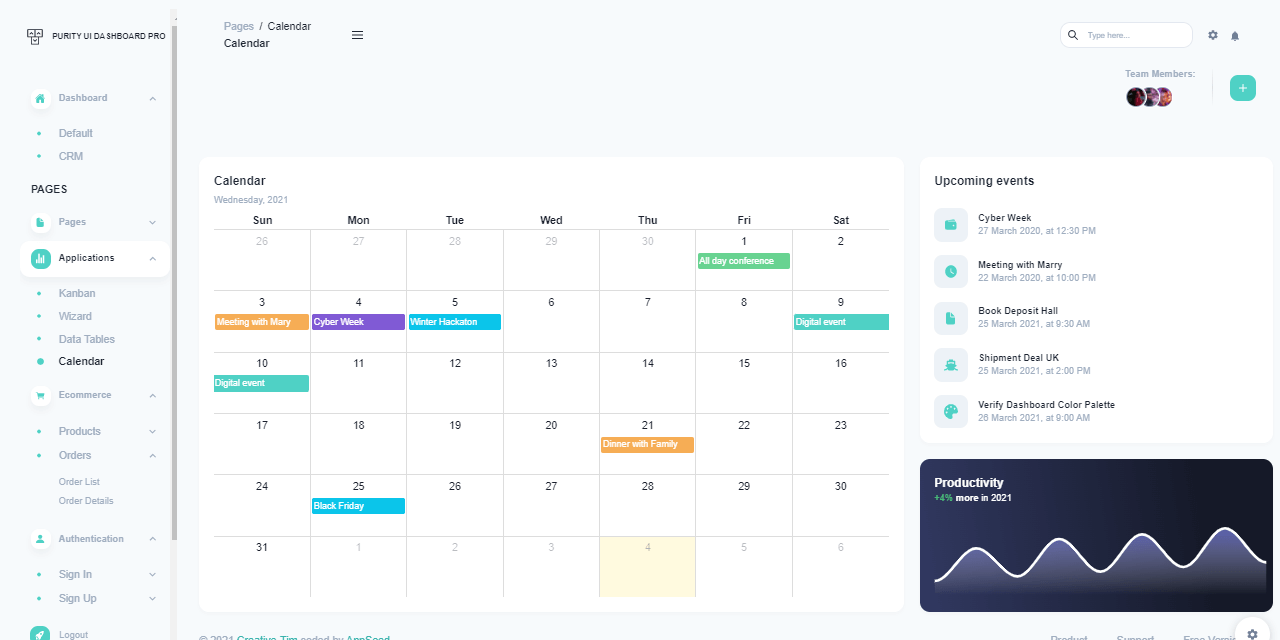
Full-Stack React Purity - Calendar Page
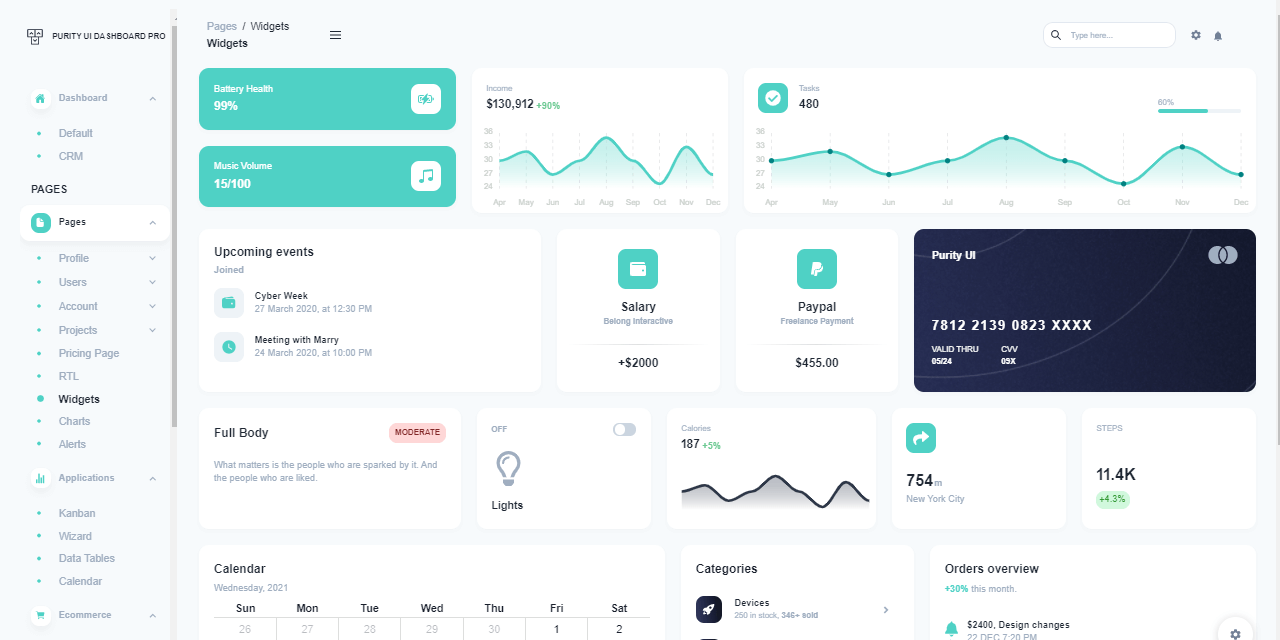
Full-Stack React Purity - Widgets Page
Open-Source Version
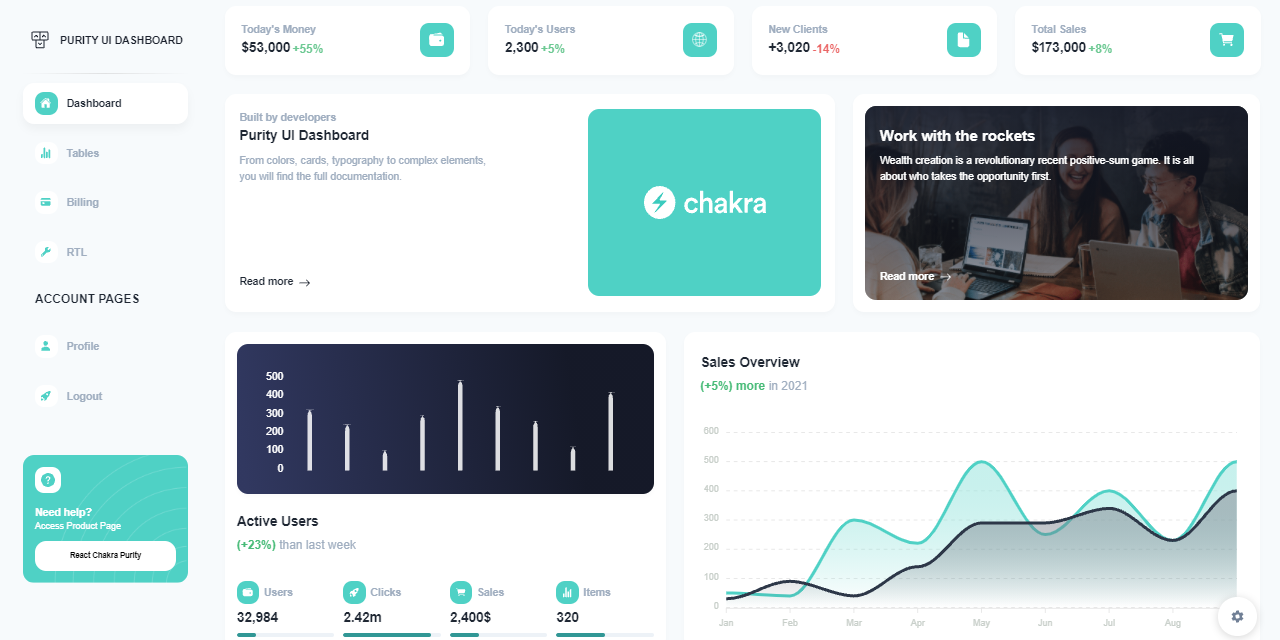
Full-Stack Purity React comes with an open-source version that provides an identical set of features (JWT authentication, Docker Support) powered by open-source API servers crafted in different flavors: Flask, Django, and Node JS.
- ✨ React Purity Dashboard - product page
- ✨ React Purity Dashboard - LIVE Demo
Thanks for reading! For more resources, please access:
- AppSeed for support and more React Starters
- Free React Dashboards - a curated list provided by Admin Dashboards