React Datta Able - Open-Source Full-stack Product
An open-source full-stack product that uses a modern React UI and a simple Node JS API backend. Sources available on Github (MIT License)


Hello! This article presents an open-source full-stack product that uses a colorful React UI enhanced with a JWT authentication flow powered by a Node JS Backend. For those unfamiliar with Node JS, the React UI can be used with Django or Flask because the API definition is replicated across multiple backends. (FASTapi is coming soon) Thanks for Reading!
- React Node JS Datta Able - product page
- React Node JS Datta Able - LIVE Demo
- Standalone Node JS API backend - sources
- Standalone Django API backend - sources
- Standalone Flask API backend - sources
How To Use the Product
The product docs provide the full information regarding the build in a local environment in all major operating systems. The backend usage is optional but recommended because the UI is already configured to work with any API server from the above list: Node JS, Django, or Flask. The API descriptor can be downloaded from Github and eventually used to mock (simulate) the backend server using POSTMAN.
Build the API Backend
This article explains the build of the Node JS API by following the instructions provided in the README and official docs.
Step #1 - Clone the sources
$ git clone https://github.com/app-generator/api-server-nodejs.git
$ cd api-server-nodejs
Step #2 - Install Dependencies
$ npm i
// OR
$ yarn
Step #3 - Run the SQLite Migration (via TypeORM)
$ yarn typeorm migration:run
Step #4 - Start for development
$ npm dev
// OR
$ yarn dev
The API server will start using the PORT specified in .env file (default 5000).

Built the React UI
Step #1 - Clone the project
$ git clone https://github.com/app-generator/react-datta-able-dashboard.git
$ cd react-datta-able-dashboard
Step #2 - Install dependencies via NPM or yarn
$ npm i
// OR
$ yarn
Step #3 - Start in development mode
$ npm run start
// OR
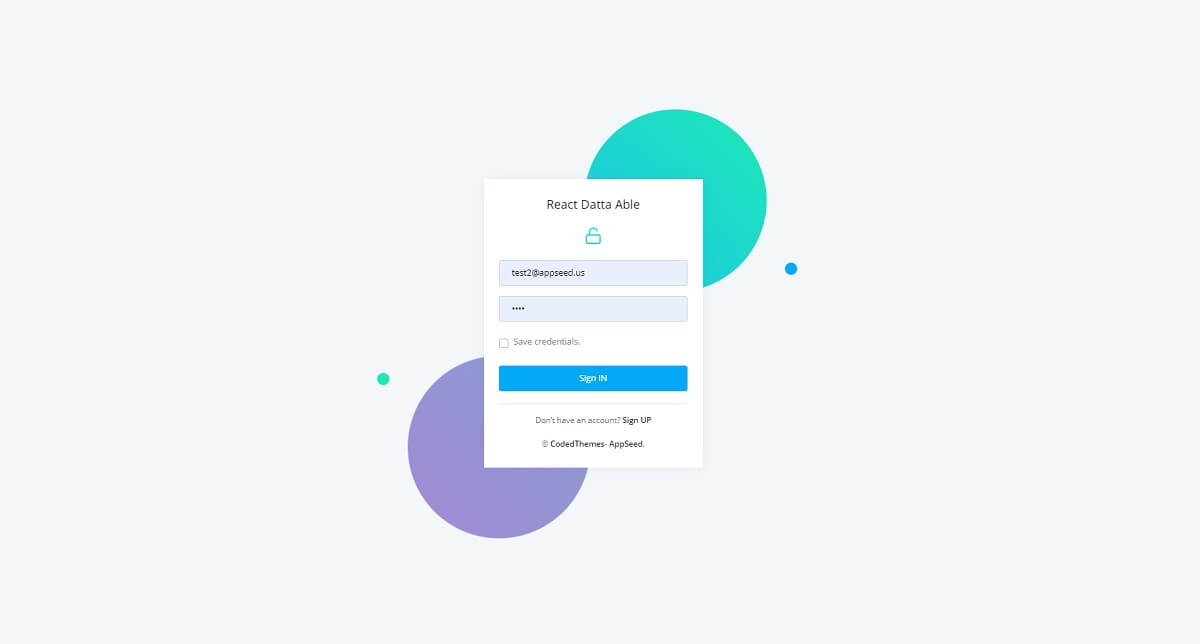
$ yarn start Once the UI is up and running, we can register new users and authenticate.
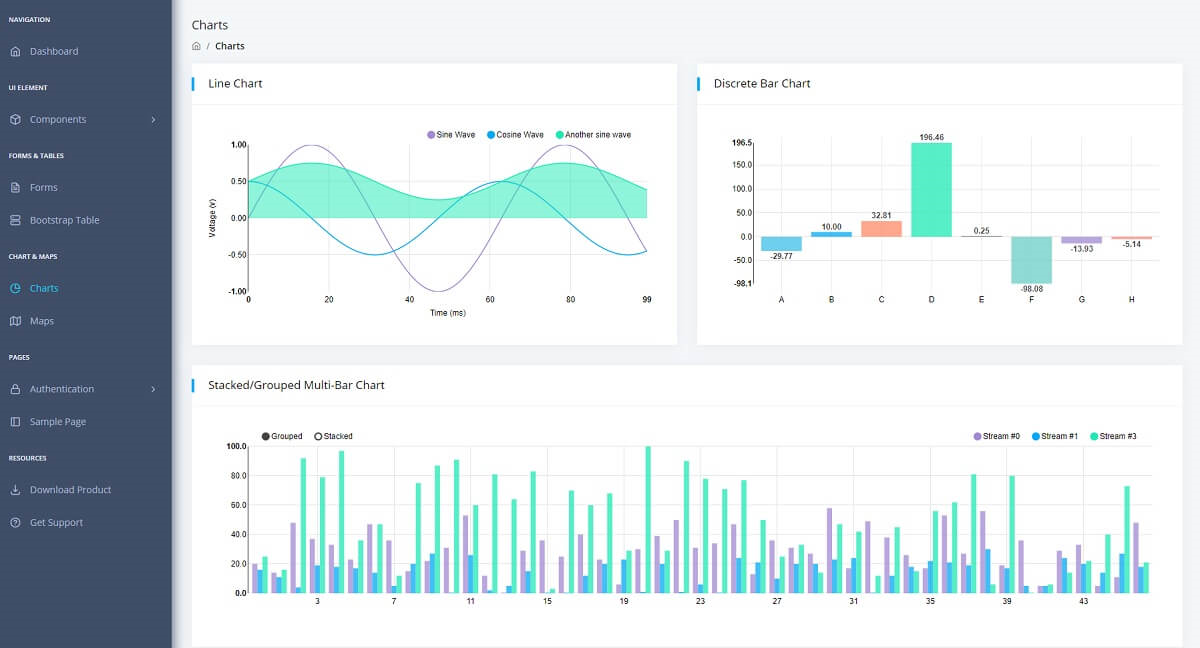
React Datta Able - Charts Page

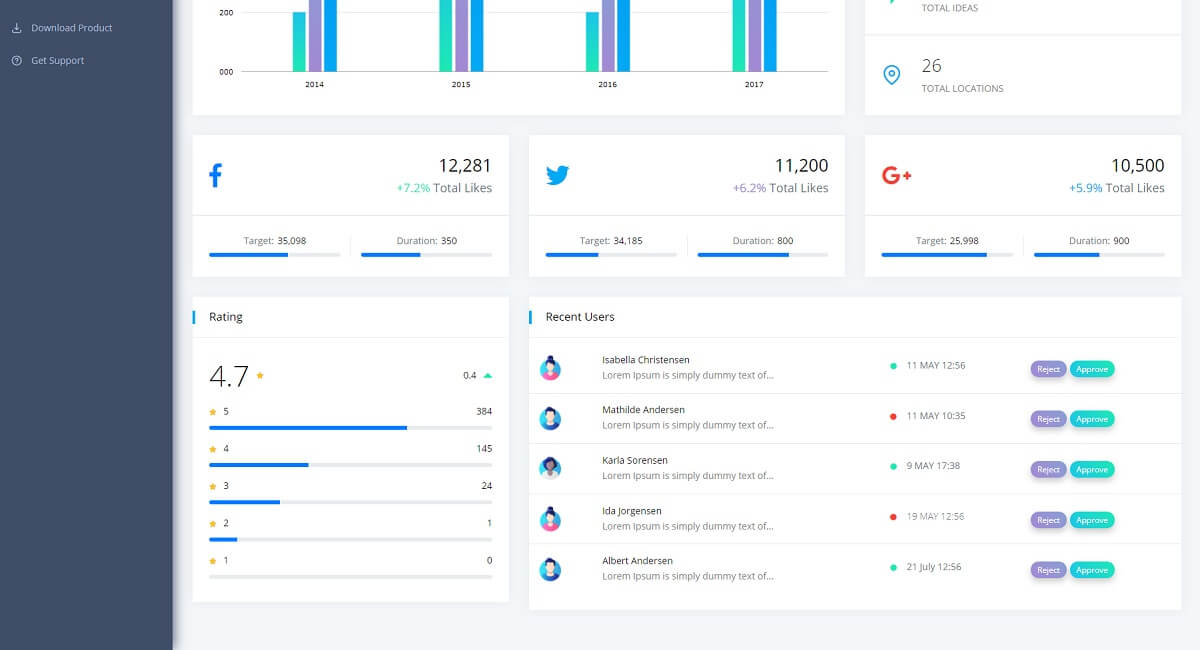
React Datta Able - Widgets page.
Thanks for reading! For more resources, feel free to access:
- React Node JS Berry - open-source full-stack starter
- React Node JS Datta PRO - premium version of Datta Able React
