React User Authentication - JWT Token Authentication
This article explains how to enhance any React template with JWT (Json WEB Tokens) authentication using a simple Node JS API Backend - Free samples included.

This article explains how to add User Authentication to React using JSON Web Tokens (JWT). We will start using an open-source template and mention all implementation steps that enhance the codebase. In the end, the project will be able to register and authenticate users using an open-source Node JS API Server that exposes authentication routes and manages the persistence in the same way as this Free React Product. Thanks for reading!
In order to make this article more useful, at the end a shortlist of open-source React Apps already enhanced with JWT Authentication is mentioned. Topics covered:
- ✅ #1:
Clone the React Template - ✅ #2:
Analyzethe Codebase - ✅ #3:
Code the APIfor backend communication - ✅ #4: Code the
React Store(frontend persistence) - ✅ #5: Code the
Authentication Flow - ✅ #6: Start the
Node JS APIBackend - ✅ #7: Start the
React UIand test the authentication - ✅ #8:
Open-sourceReact Samples - ✅ #9: Links & Resources
In case something is missing, feel free to ask for support in Discord (free service provided by AppSeed) or use Github issues tracker of each project to get assistance.
✨ #1 - Download the React Template
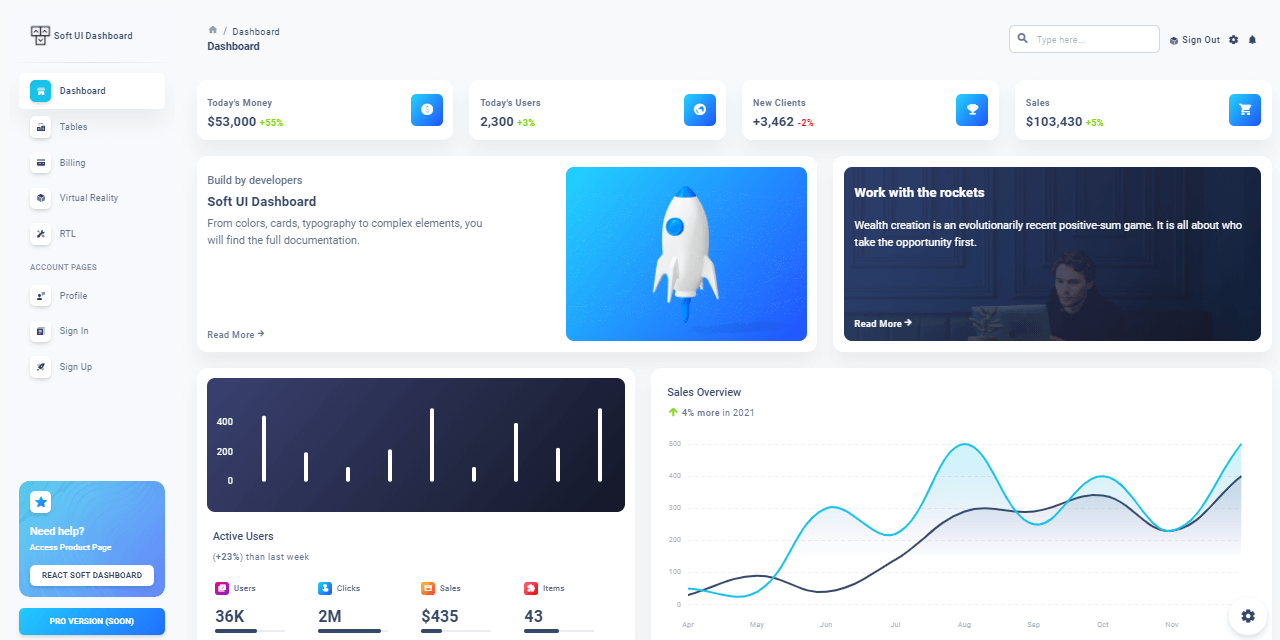
The template used in this article is React Soft Dashboard, an open-source product crafted by Creative-Tim and the source code can be downloaded from the product page. In case this design is not what you're looking for, feel free to use another one and adapt the code instructions to the new structure.
- React Soft Dashboard - product page
- React Soft Dashboard - source code (Github)
To successfully compile and run the project, the workstation should have a decent version of Node JS (12.x or above), GIT, and a modern code editor like VsCode or Atom. Here are the steps to compile the template using the source code published on Github:
👉 Step #1 - Clone sources using GIT
$ git clone https://github.com/creativetimofficial/soft-ui-dashboard-react.git
$ cd soft-ui-dashboard-react👉 Step #2 - Install modules
$ npm i
// OR
$ yarn 👉 Step #3 - Start for development (with LIVE reload)
$ npm run start
// OR
$ yarn start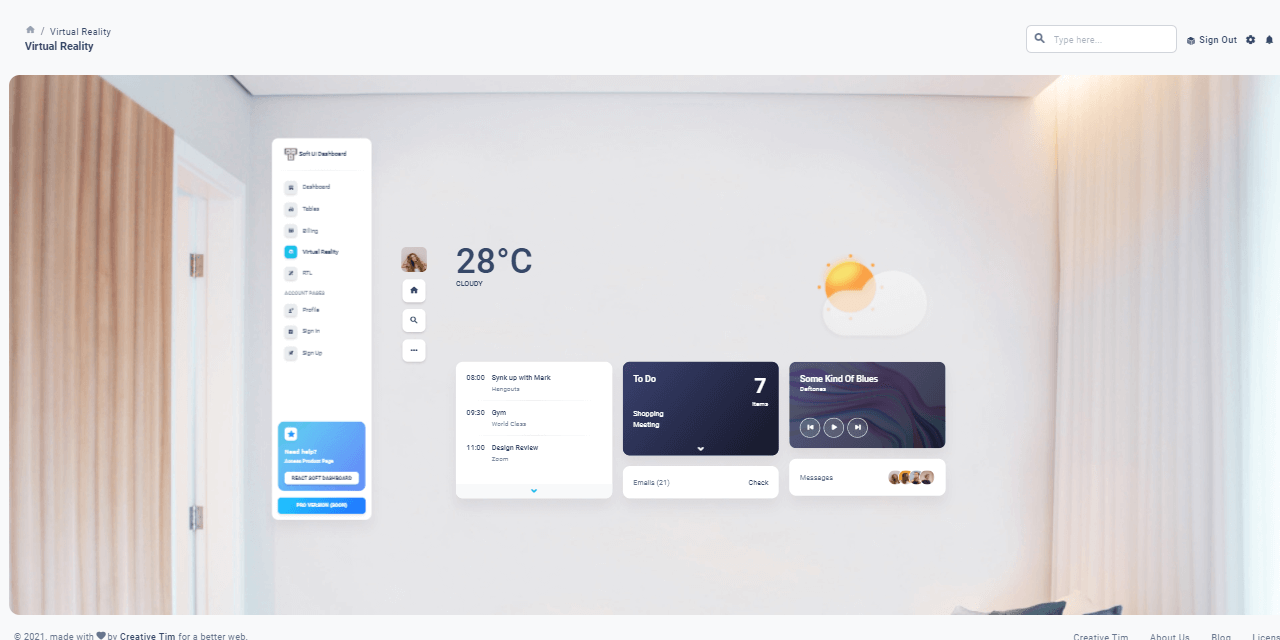
✨ #2 - Analyze the Codebase
After the download, the first logical step is to look around and see how the project is structured.
- Detect master pages (layouts)
- Locate the authentication pages: SignIN, Register.
Sometimes, such pages aren't provided but in this case, we can use the default versions shipped by the template.
soft-ui-dashboard-react
    ├── public
    │   ├── index.html              <!-- Page where the app is injected -->
    ├── src
    │   ├── assets
    │   │   ├── images
    │   │   └── theme
    │   ├── components
    │   ├── examples
    │   │   ├── Charts              <!-- Charts component -->
    │   │   ├── Footer              <!-- Footer component -->
    │   │   ├── Navbars
    │   ├── layouts
    │   │   ├── authentication
    │   │   │    ├── sign-in        <!-- Login  Page -->
    │   │   │    └── sign-up        <!-- SignUP Page -->
    │   │   ├── billing
    │   │   ├── dashboard           <!-- Dashboard Layout -->
    │   │   ├── profile
    │   │   ├── rtl                 <!-- RTL Layout -->
    │   │   ├── tables
    │   │   └── virtual-reality
    │   ├── App.js
    │   ├── index.js
    │   └── routes.js
    ├── package.json                <!-- Project Builder -->
    └── README.md                   <!-- Contains Build Info -->
✨ #3 - Code the Client API
This section presents the necessary code that provides network communication with the API backend using Axios, a popular HTTP client. For newcomers, Axios is a library executable on the client and server side (Node JS) using the same codebase. For more information about Axios, feel free to access the official docs or play with the free samples. Let's move forward and code our simple API interface:
👉 Step #1 - Create a configuration file used by the APIThe file defines all the constants used in different places and contexts. For now, we need only the API_SERVER address:
// File: src/config/constant.js
export const API_SERVER = "http://localhost:5000/api/";👉 Step #2 - Create a new folderapiinsrcfolder
👉 Step #3 - Create an index.js file with API configurationimport Axios from "axios";
import { API_SERVER } from "../config/constant";
const axios = Axios.create({
baseURL: `${API_SERVER}`,
headers: { "Content-Type": "application/json" },
});
axios.interceptors.request.use(
(config) => {
return Promise.resolve(config);
},
(error) => Promise.reject(error)
);
axios.interceptors.response.use(
(response) => Promise.resolve(response),
(error) => {
return Promise.reject(error);
}
);
export default axios;
});👉 Step #4 - Create auth.js that contains all API callsimport axios from "./index";
class AuthApi {
static Login = (data) => {
return axios.post(`users/login`, data);
};
// don't forget to add the register and logout methods
}
export default AuthApi;At this point, our client-side API is coded and configured to communicate with the backend.
✨ #4 - Code the React Store
In many React Apps, you will find that their store is based on React-Redux . Here we use React Context. We need to create the store in order to keep track of the user's account and determine whether we should allow the user on certain pages if they are not logged in.
👉 Step #1 - Create a newcontextfolder insrc
The file src/context/auth.context.js will contain the following code:
const AuthContext = React.createContext(null);

export const AuthProvider = ({ userData, children }) => {
  let [user, setUser] = React.useState(userData);

  return (
    <AuthContext.Provider value={{ user, setUser }}>
      {children}
    </AuthContext.Provider>
  );
};

export const useAuth = () => React.useContext(AuthContext);👉 Step #2 - Bind togetherContext Providerand theAppobject
const App = () => {
  // we get the user from the localStorage because that's where we will save their account on the login process
  let user = localStorage.getItem("user");
  user = JSON.parse(user);

  return (
    <AuthProvider userData={user}>
      <Routes />
    </AuthProvider>
  );
};

export default App; 👉 Step #3 - Define protected Routes
We need this feature in order to redirect guest users to authenticate before accessing the private pages (dashboard, profile page..).
export const ProtectedRoute = ({..rest }) => {
  let { user } = useAuth();

  if (!user || !user.token || user.token === "") {
    return (
      // component which inform the user that they must be logged in
    );
  }

  // let user through if they're logged in
  return <Route {..rest} />;
};Below we have 2 examples of both protected and unprotected routes:
<ProtectedRoute path="/rtl" component={RtlLayout} />
<Route path="/auth" component={AuthLayout} /> ✨ #5 - Code the Auth Flow
After you have identified the Auth Components you can start creating the Authentication process We'll take the Login Component as an example:
  const login = async (event) => {
    if (event) {
      event.preventDefault();
    }

    //handle exceptions like: no email entered, no password entered, here.

    try {
      let response = await AuthApi.Login({
        email,
        password,
      });
      if (response.data && response.data.success === false) {
        //display error coming from server
        return setError(response.data.msg);
      }
      return setProfile(response);
    } catch (err) {
      //display error originating from server / other sources
      console.log(err);
      if (err.response) {
        return setError(err.response.data.msg);
      }
      return setError("There has been an error.");
    }
}; On success (user credentials are good) setProfile helper is called to save the user information in the app store.
  const setProfile = (response) => {
    let user = { ...response.data.user };
    user.token = response.data.token;
    user = JSON.stringify(user);
    //setUser is imported from the useAuth React Context
    setUser(user);
    //also set the user in local storage
    localStorage.setItem("user", user);
    return history.push("/admin/dashboard");
}; The above code snippet extracts and saves the JWT Token for later use (logout, user profile request).
✨ #6 - Start the Node JS API
The Node JS Backend server is a simple one that exposes three API methods called from React, via Axios library:
👉 SignUP Method - api/users/registerPOST api/users/register
Content-Type: application/json
{
"username":"test",
"password":"pass",
"email":"test@appseed.us"
} 👉 SignIN Method - api/users/loginPOST /api/users/login
Content-Type: application/json
{
"password":"pass",
"email":"test@appseed.us"
} 👉 Logout Method - api/users/logoutPOST api/users/logout
Content-Type: application/json
authorization: JWT_TOKEN (returned by Login request)
{
"token":"JWT_TOKEN"
}For complete information regarding this simple API server, feel free to access the public repository or the official documentation. Now, back to our tutorial, let's download and start the server:
👉 Step #1 - Clone the sources
$ git clone https://github.com/app-generator/api-server-nodejs.git
$ cd api-server-nodejs 👉 Step #2 - Install dependencies via NPM or Yarn
$ npm i
// OR
$ yarn
👉 Step #3 - Run theSQLitemigration viaTypeORM
$ yarn typeorm migration:run
👉 Step #4 - Start the API server (development mode)
$ npm dev
// OR
$ yarn dev At this point, the API server should be up and running on port 5000, the same port expected by the React UI in the configuration (Section #3).
// File: src/config/constant.js
export const API_SERVER = "http://localhost:5000/api/";✨ #7 - Start React Soft Dashboard
All the above sample code can be found and downloaded from GitHub under the MIT License and used for commercial or learning projects. Let's access the public repository and compile the React UI by following the instructions provided in the README file.
- 👉 React Soft Dashboard - (full-stack version) source code
- 👉 React Soft Dashboard - (full-stack version) LIVE Demo
Here are the necessary steps to download and compile Soft Dashboard React:
$ git clone https://github.com/app-generator/react-soft-ui-dashboard.git
$ cd react-soft-ui-dashboard$ npm i
// OR
$ yarn$ npm run start
// OR
$ yarn startAt this point, we should be able to visit the app in the browser on port 3000 , register new users, authenticate and interact with the UI.
✨ #8 - More Open-source Samples
In case Soft UI design is not the design you are looking for, we have other samples mentioned below that come with an identical authentication flow (login, logout, register) powered by JWT.
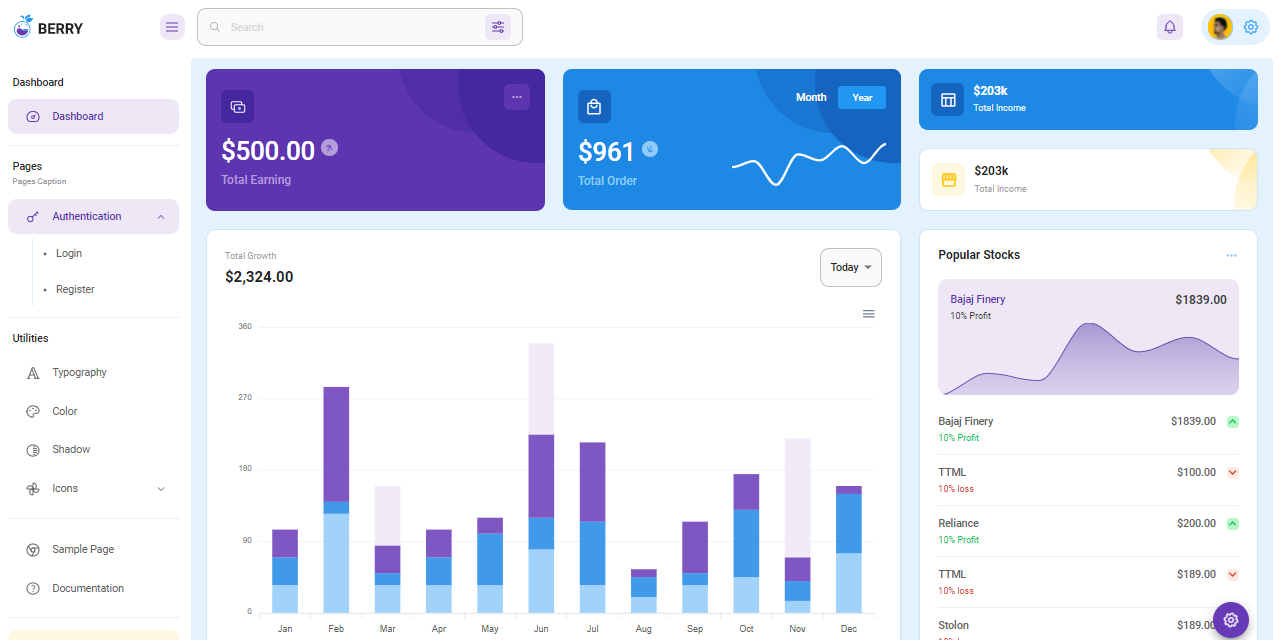
✨ React Berry Dashboard
Berry is a creative React Dashboard build using the Material-UI. It is meant to be the best User Experience with highly customizable feature-riched pages. It is a complete game-changer React Dashboard with an easy and intuitive responsive design as on retina screens or laptops.
- 👉 React Node JS Berry - product page
- 👉 React Node JS Berry - LIVE Demo
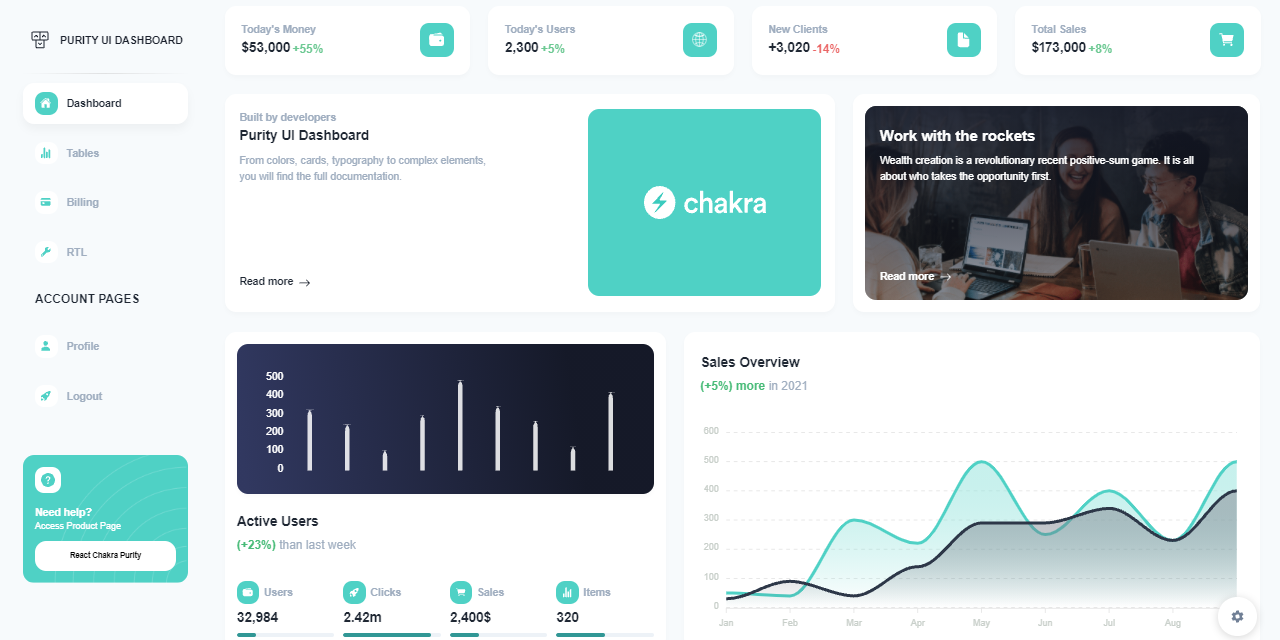
✨ React Purity Dashboard
Purity UI Dashboard is built with over 70 frontend individual elements, like buttons, inputs, navbars, nav tabs, cards, and alerts, giving you the freedom of choosing and combining. All components can take variations in color, that you can easily modify using Chakra's style props.
- 👉 React Purity Dashboard - product page
- 👉 React Purity Dashboard - LIVE Demo
✨ #9 - Links & Resources
Authentication is an important feature for any product and JWT Authentication especially implemented in the right way will make an end-product more secure and reliable in front of the end users. Here are some links related to this topic:
- 👉 Introduction to JSON Web Tokens - a comprehensive article
- 👉 JSON Web Tokens - provided by Auth0 Service
- 👉 Security Issues in JWT Authentication - written by Olivia Harris